Installing the application: “MasterCRM E-Chat integration for Creatio”
First of all you need to install the local version of the widget.
You can download the application from the following link:
You can then proceed to install the application in the Creatio portal.
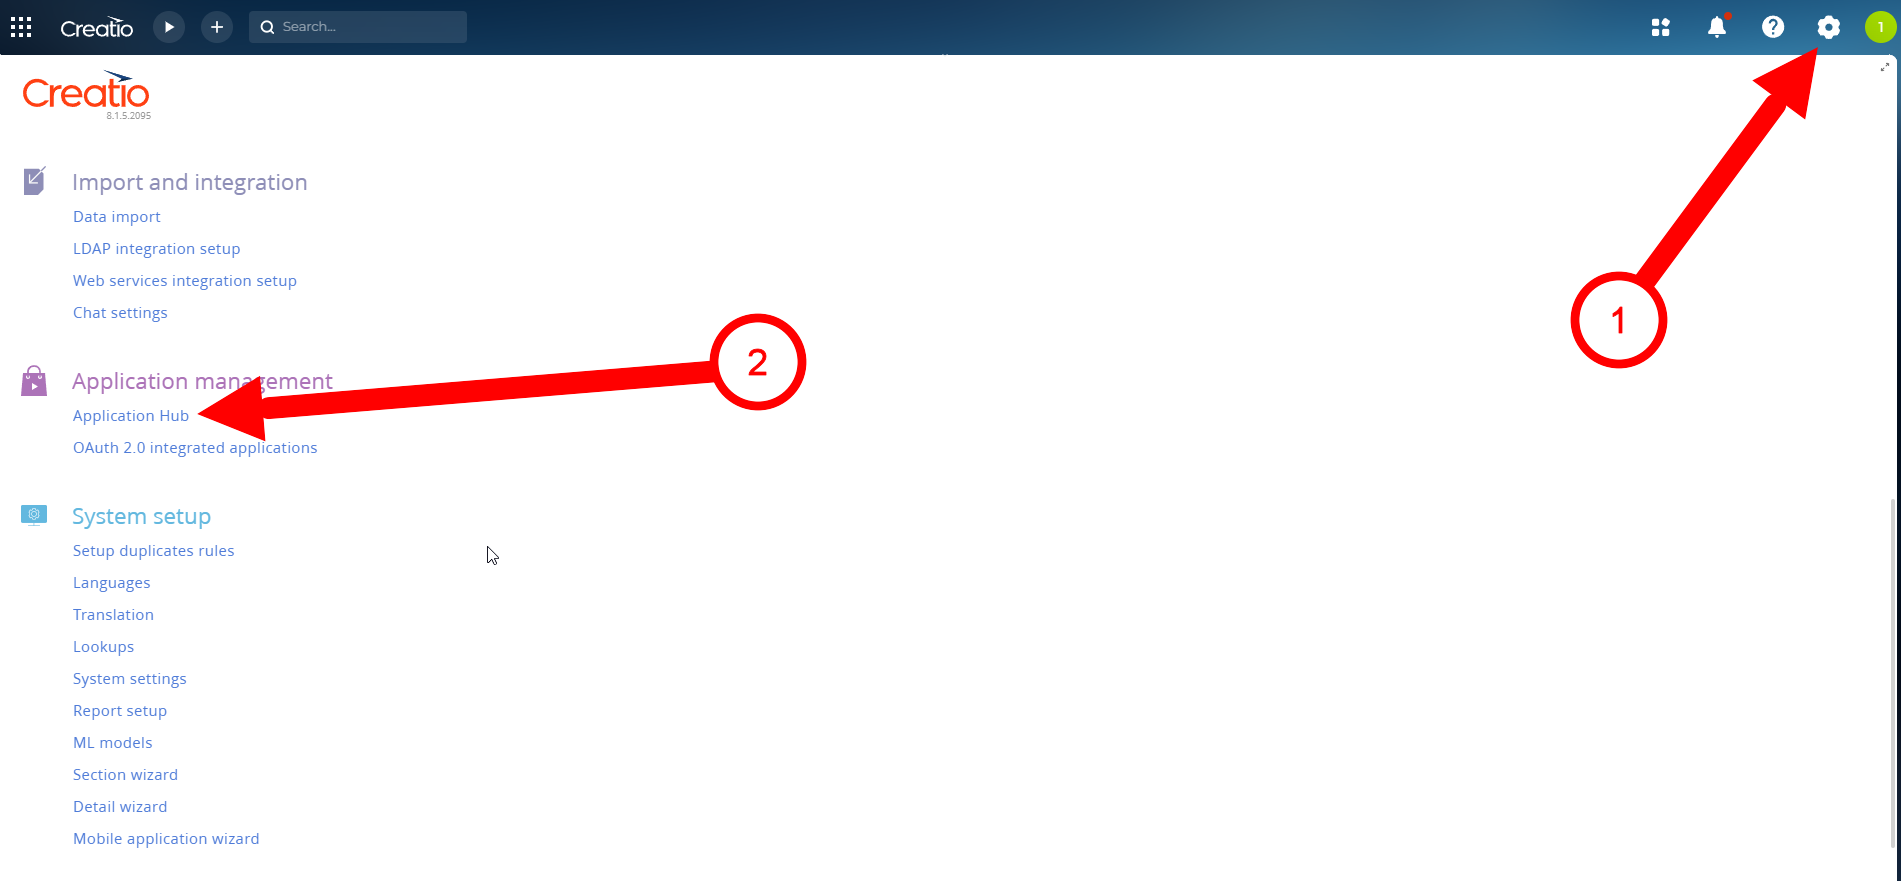
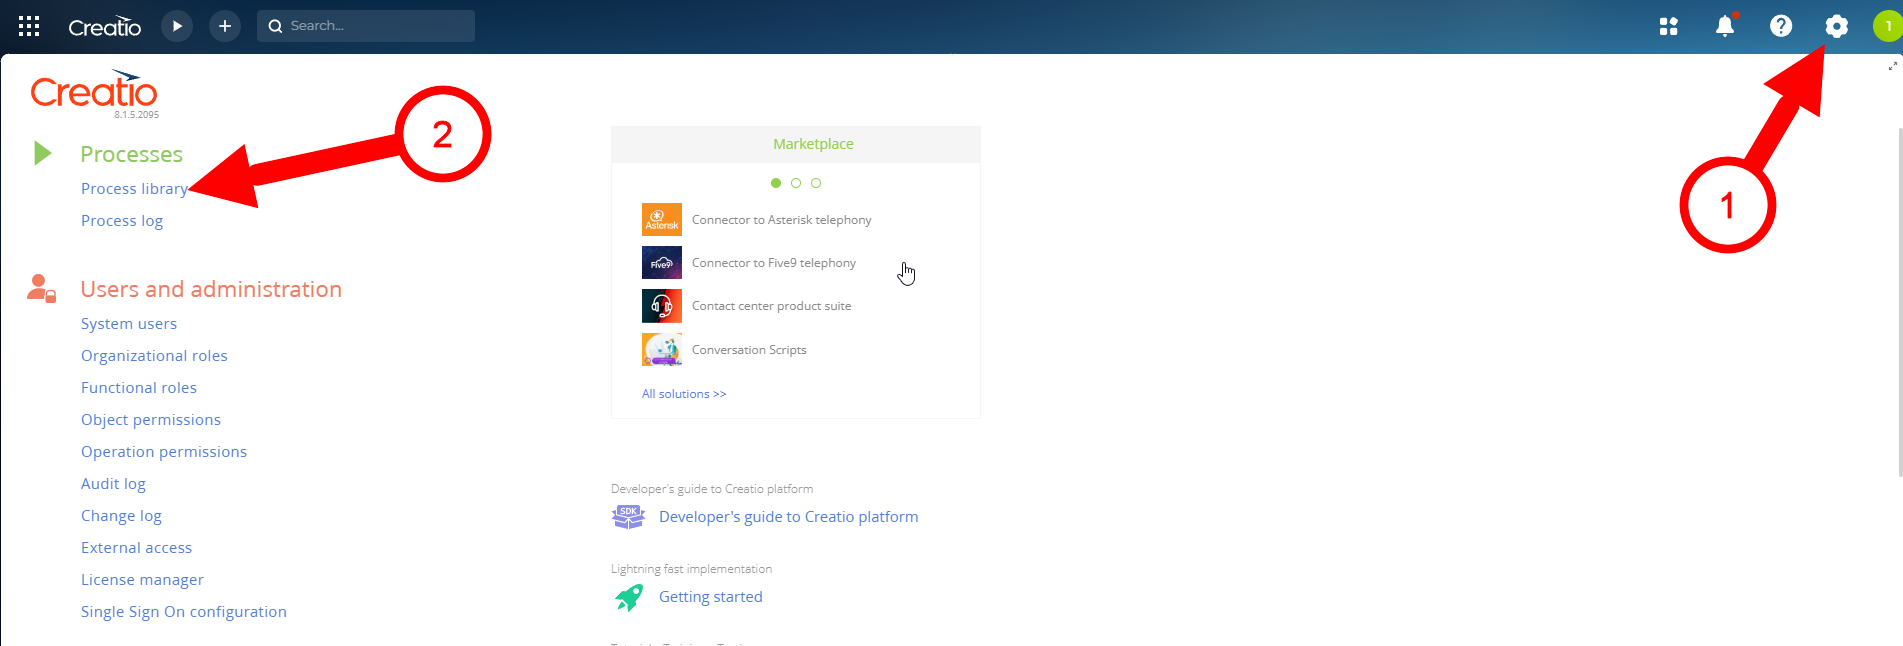
In the portal, go to Settings > Application Management > Application Hub.
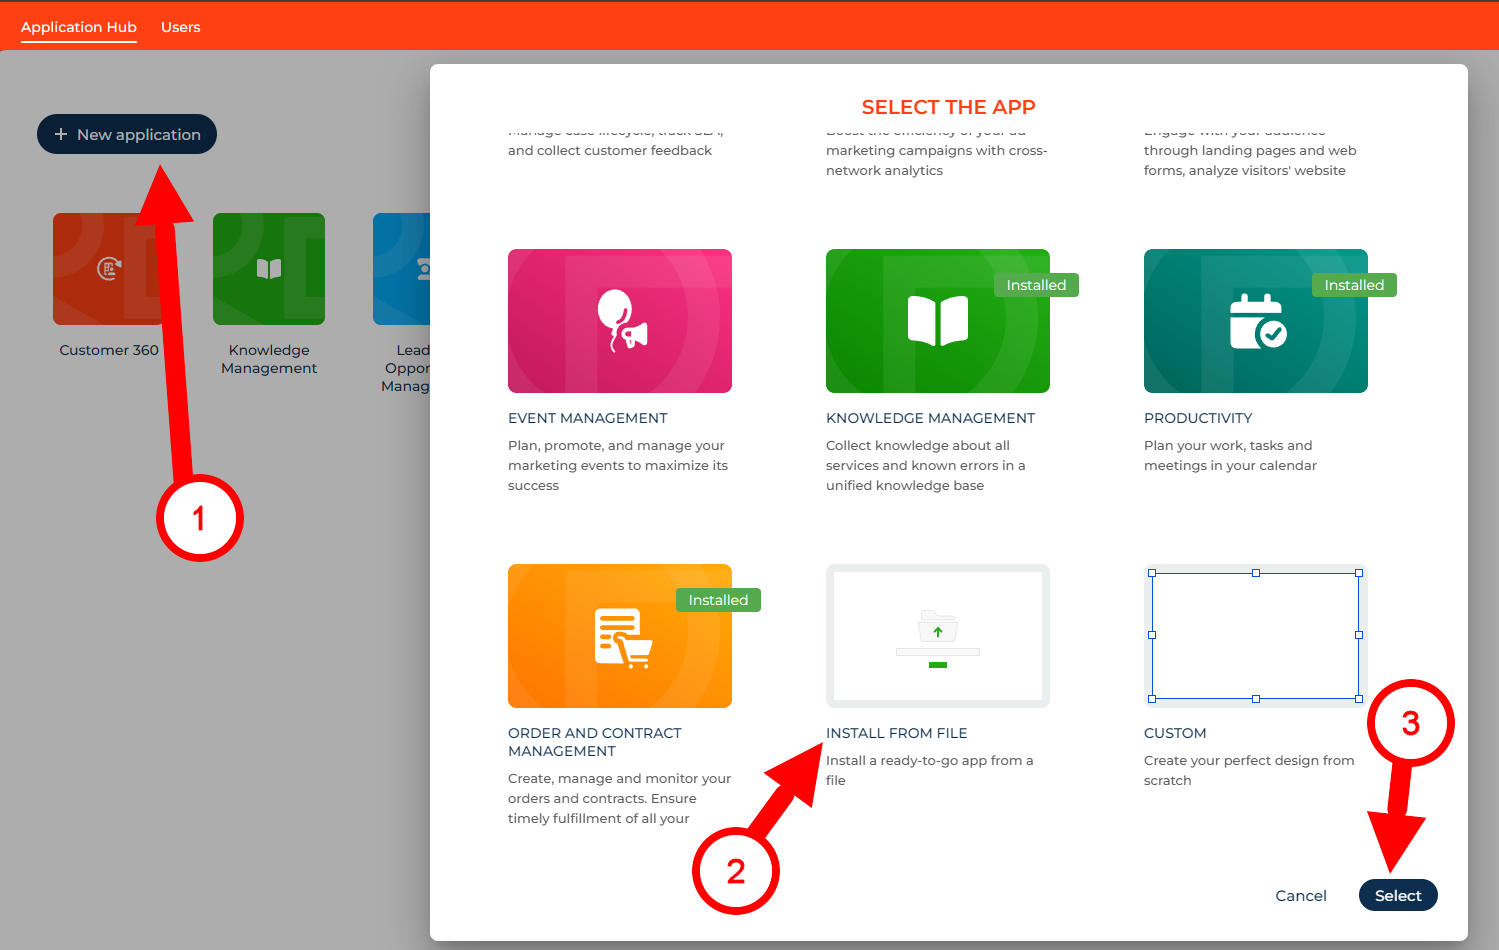
In the form that opens, click “Install”
Select the “Install from File” option
Click “Select”
A window will open where you need to select the file to install.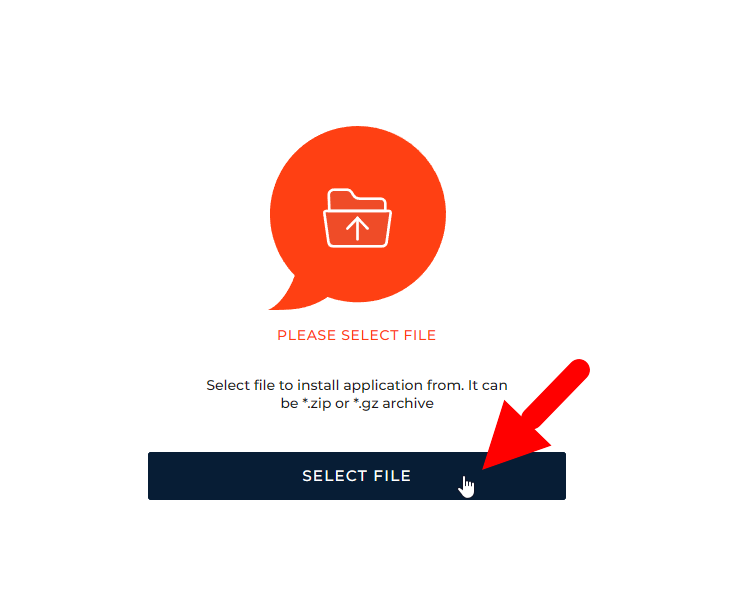
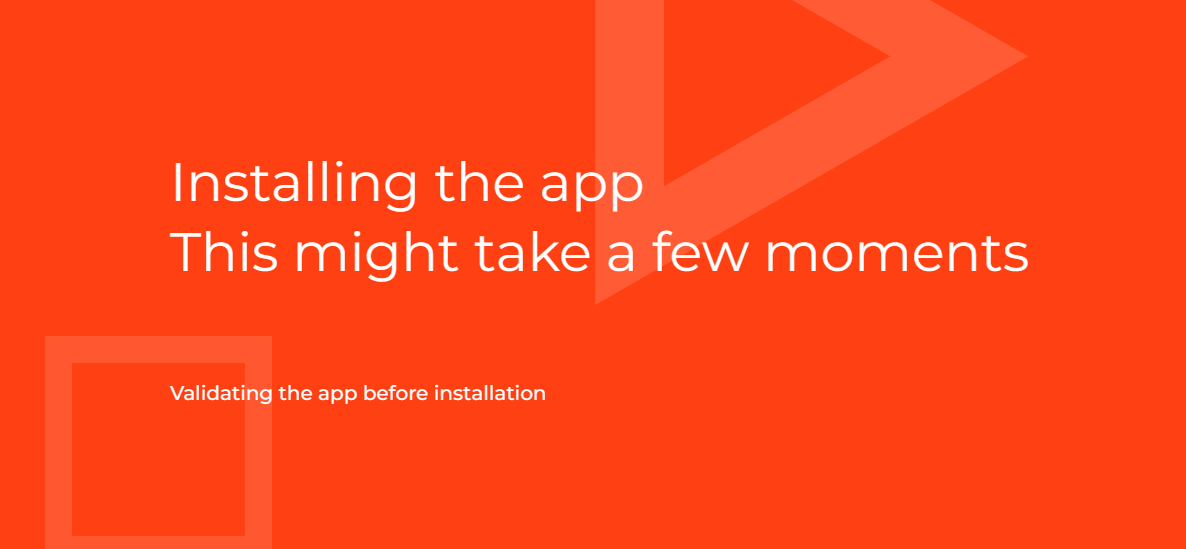
Wait for the application installation to complete.
Done. The widget has been successfully installed.
Creating a channel
Go to Settings > Processes > Process library
In the opened section, select the “All” folder and in the list of available processes, click on the process line: “Create New Channel EChat Viber” or “Create New Channel EChat Telegram”
An additional window will open where you need to start the process by clicking on the “RUN” button.

A form for filling out will open, where you need to specify the following data:
1) Name - an arbitrary name that will be used in all interfaces of the system.
2) Number - Your account number, which is added and activated in your personal E-chat cabinet.
3) Token - API key of your number.
(You can find the API key in your personal E-chat cabinet, in the integrations section).
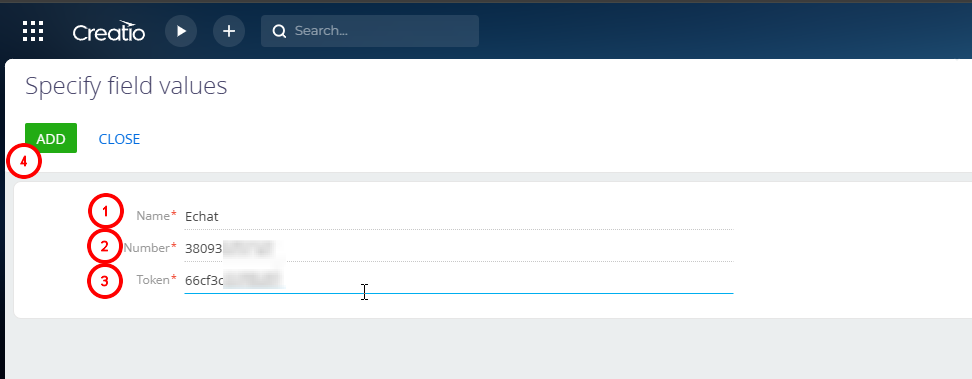
After filling out the form - click the “ADD” button in the upper-left corner.
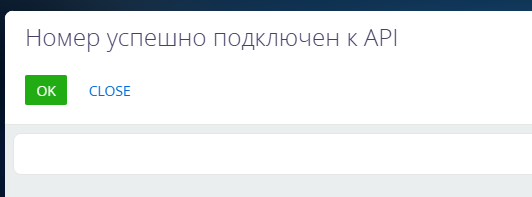
Done. The integration of your account with Creatio has been successfully completed.
To set up the cloud version - write to Creatio support and give them the following instructions:
Working with messages
The standard interface for working with chats in the Creatio communication panel is used.
To receive a chat, a registered user must be assigned to the chat processing queue and have an “Active” status.
To accept a chat from a user, click the “Accept Chat” button.
Communication is conducted through the “Chats” tab in the Communication panel.