- Setting up a data source
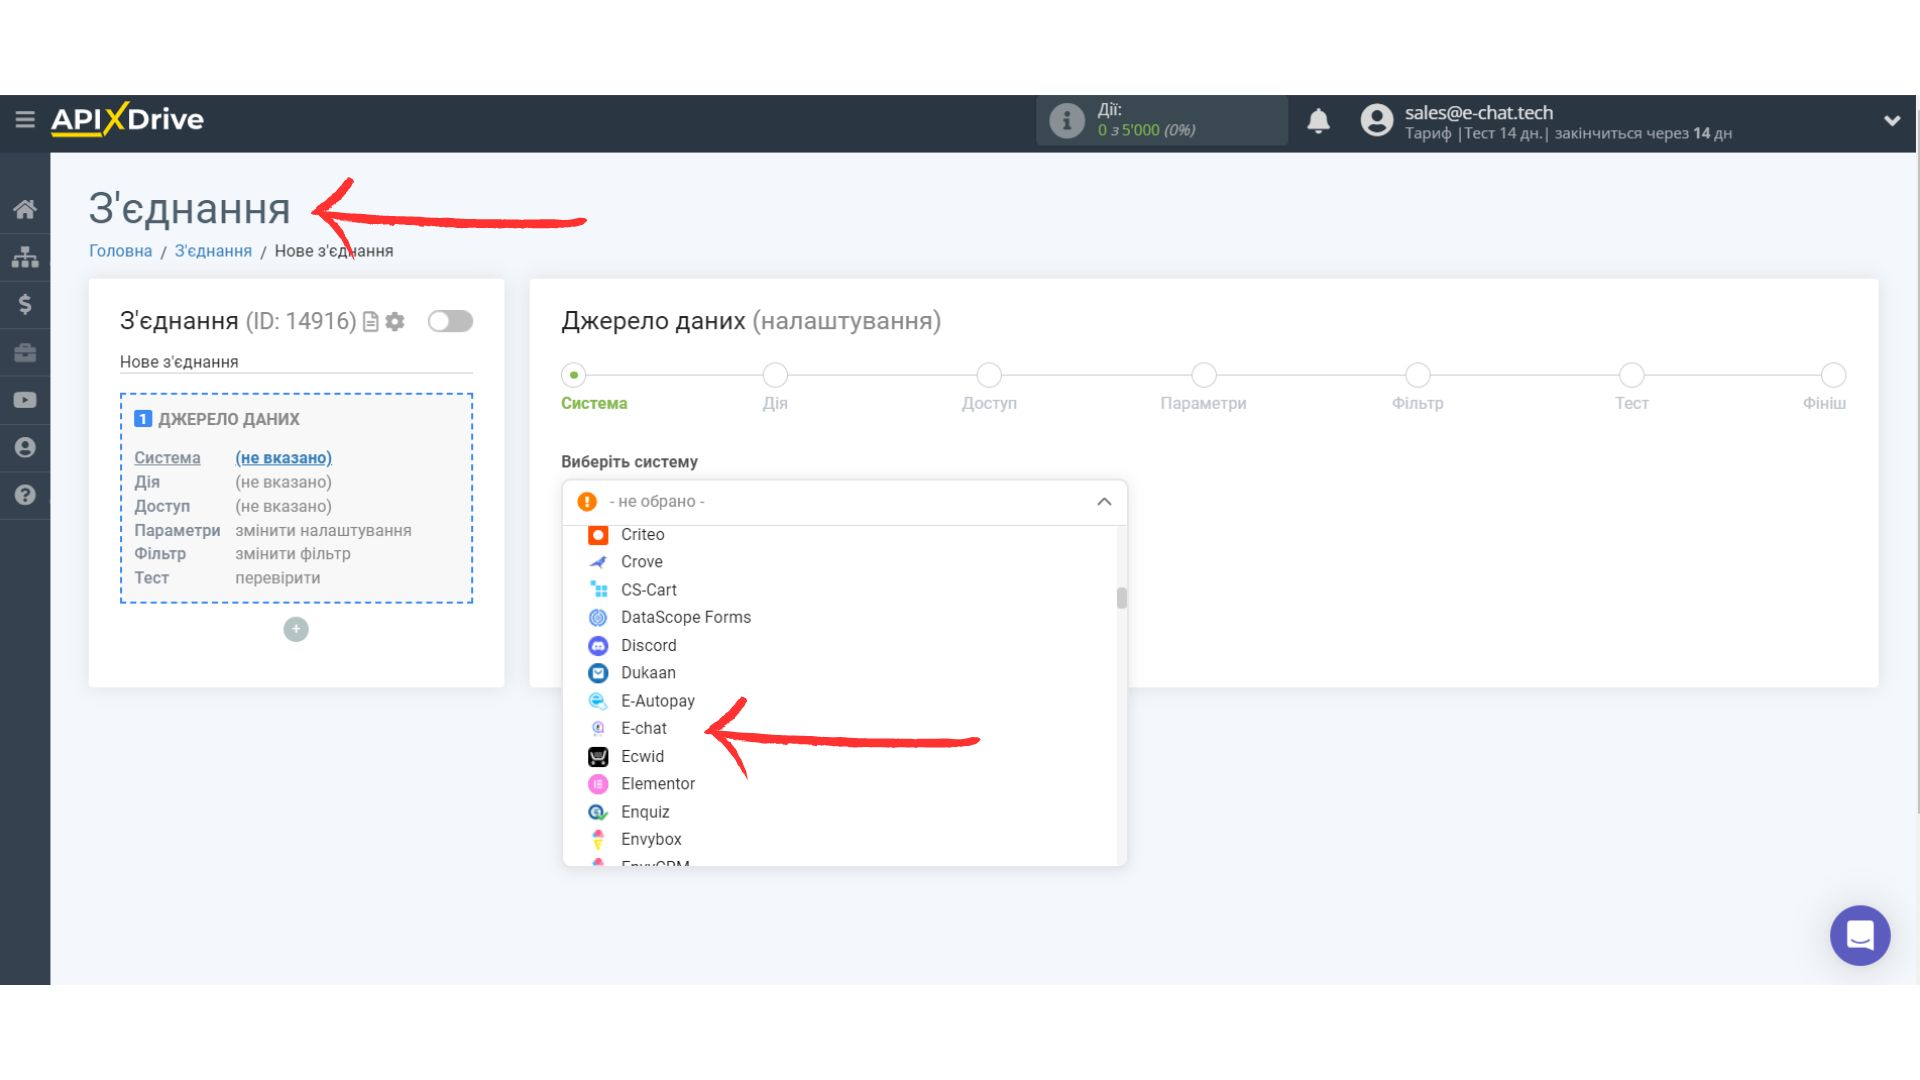
To add E-chat as a data source go to ApixDrive and create a new connection - Select as “Data Source” and add E-chat
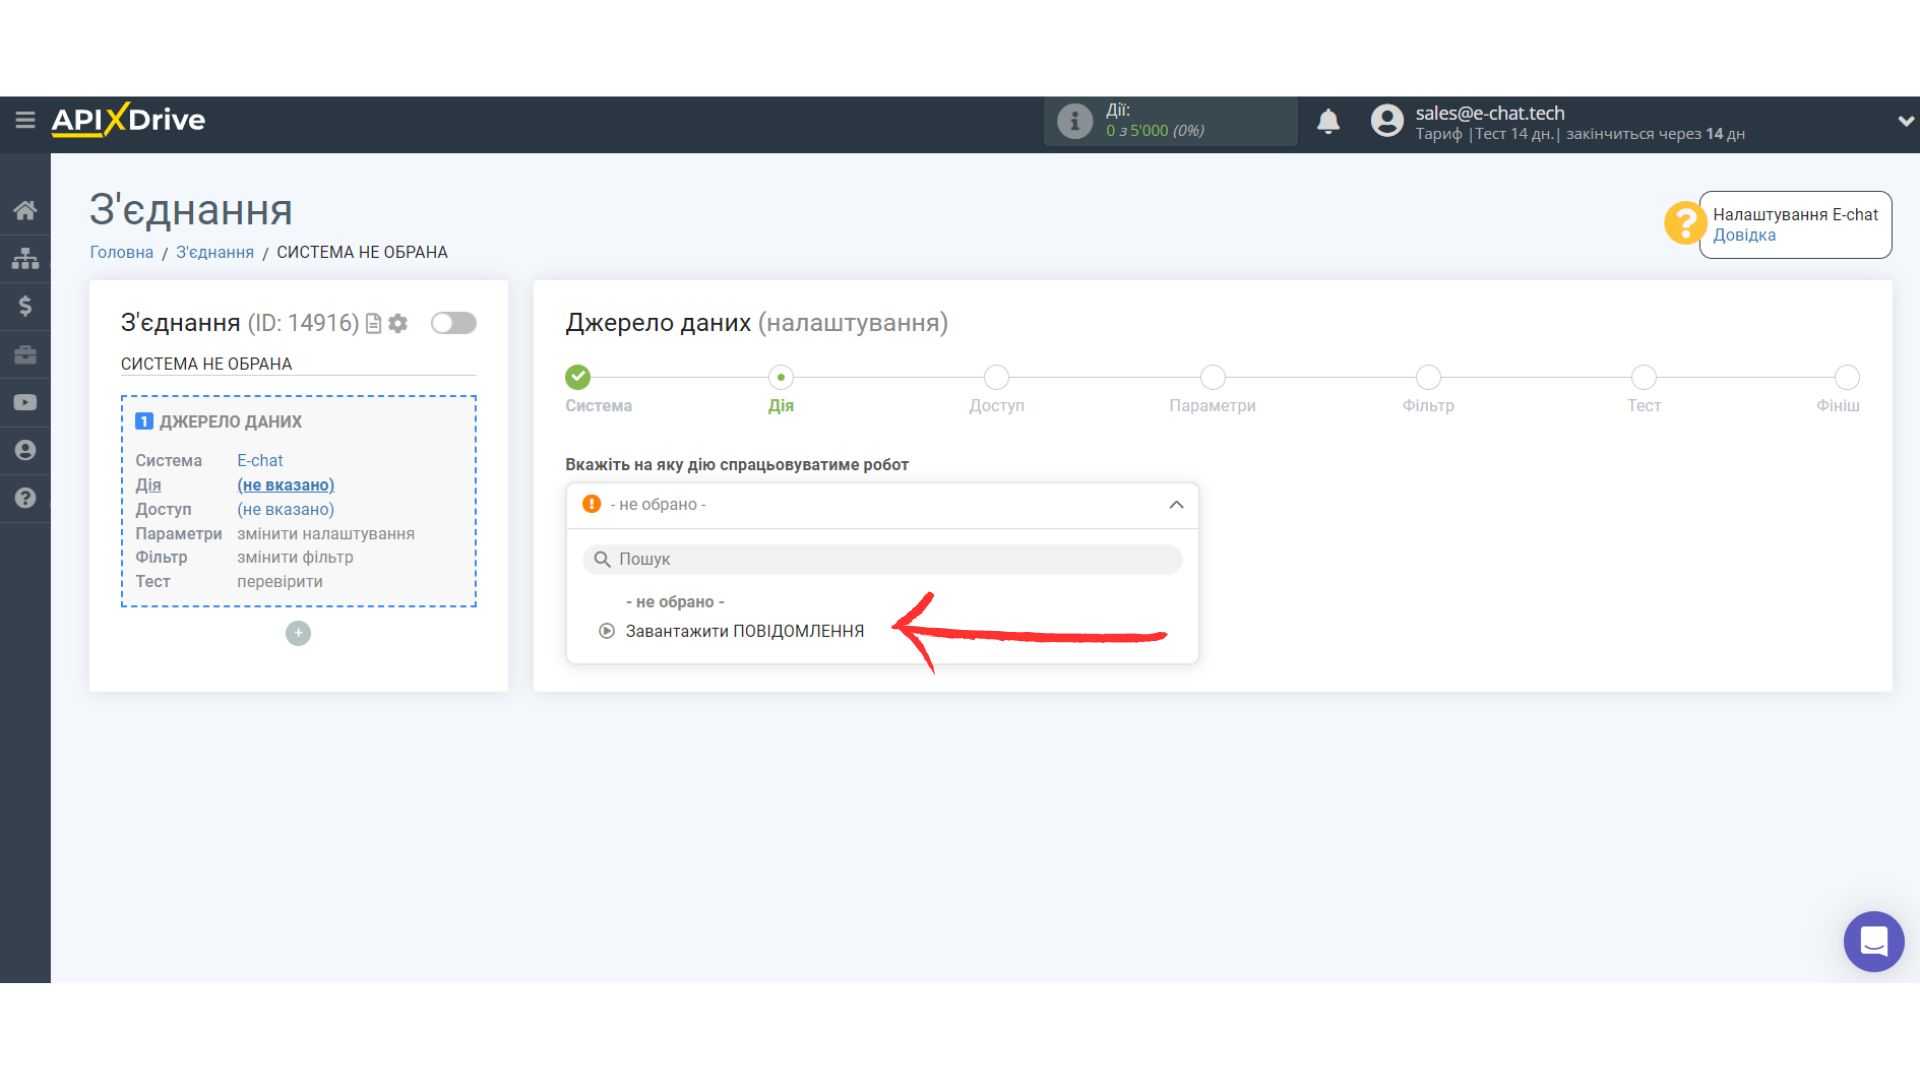
- In the next step, select “Upload Message”
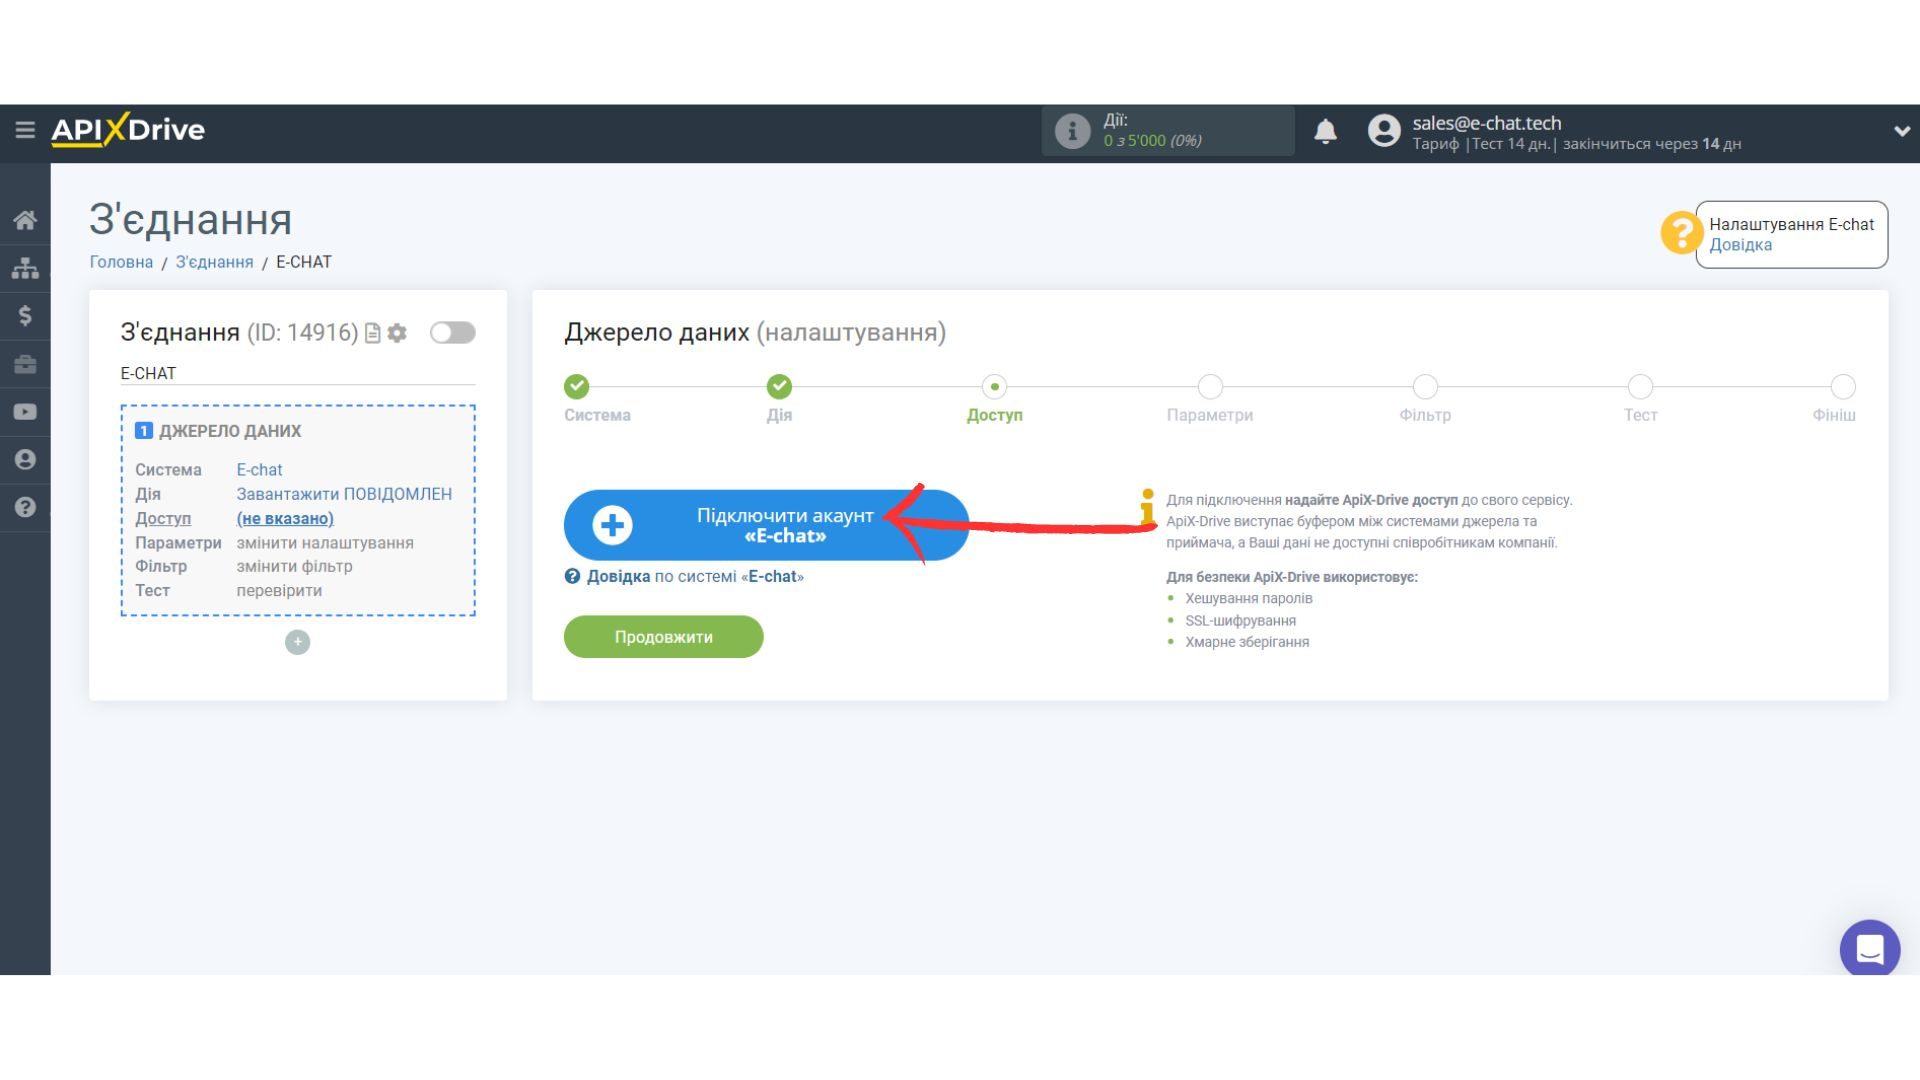
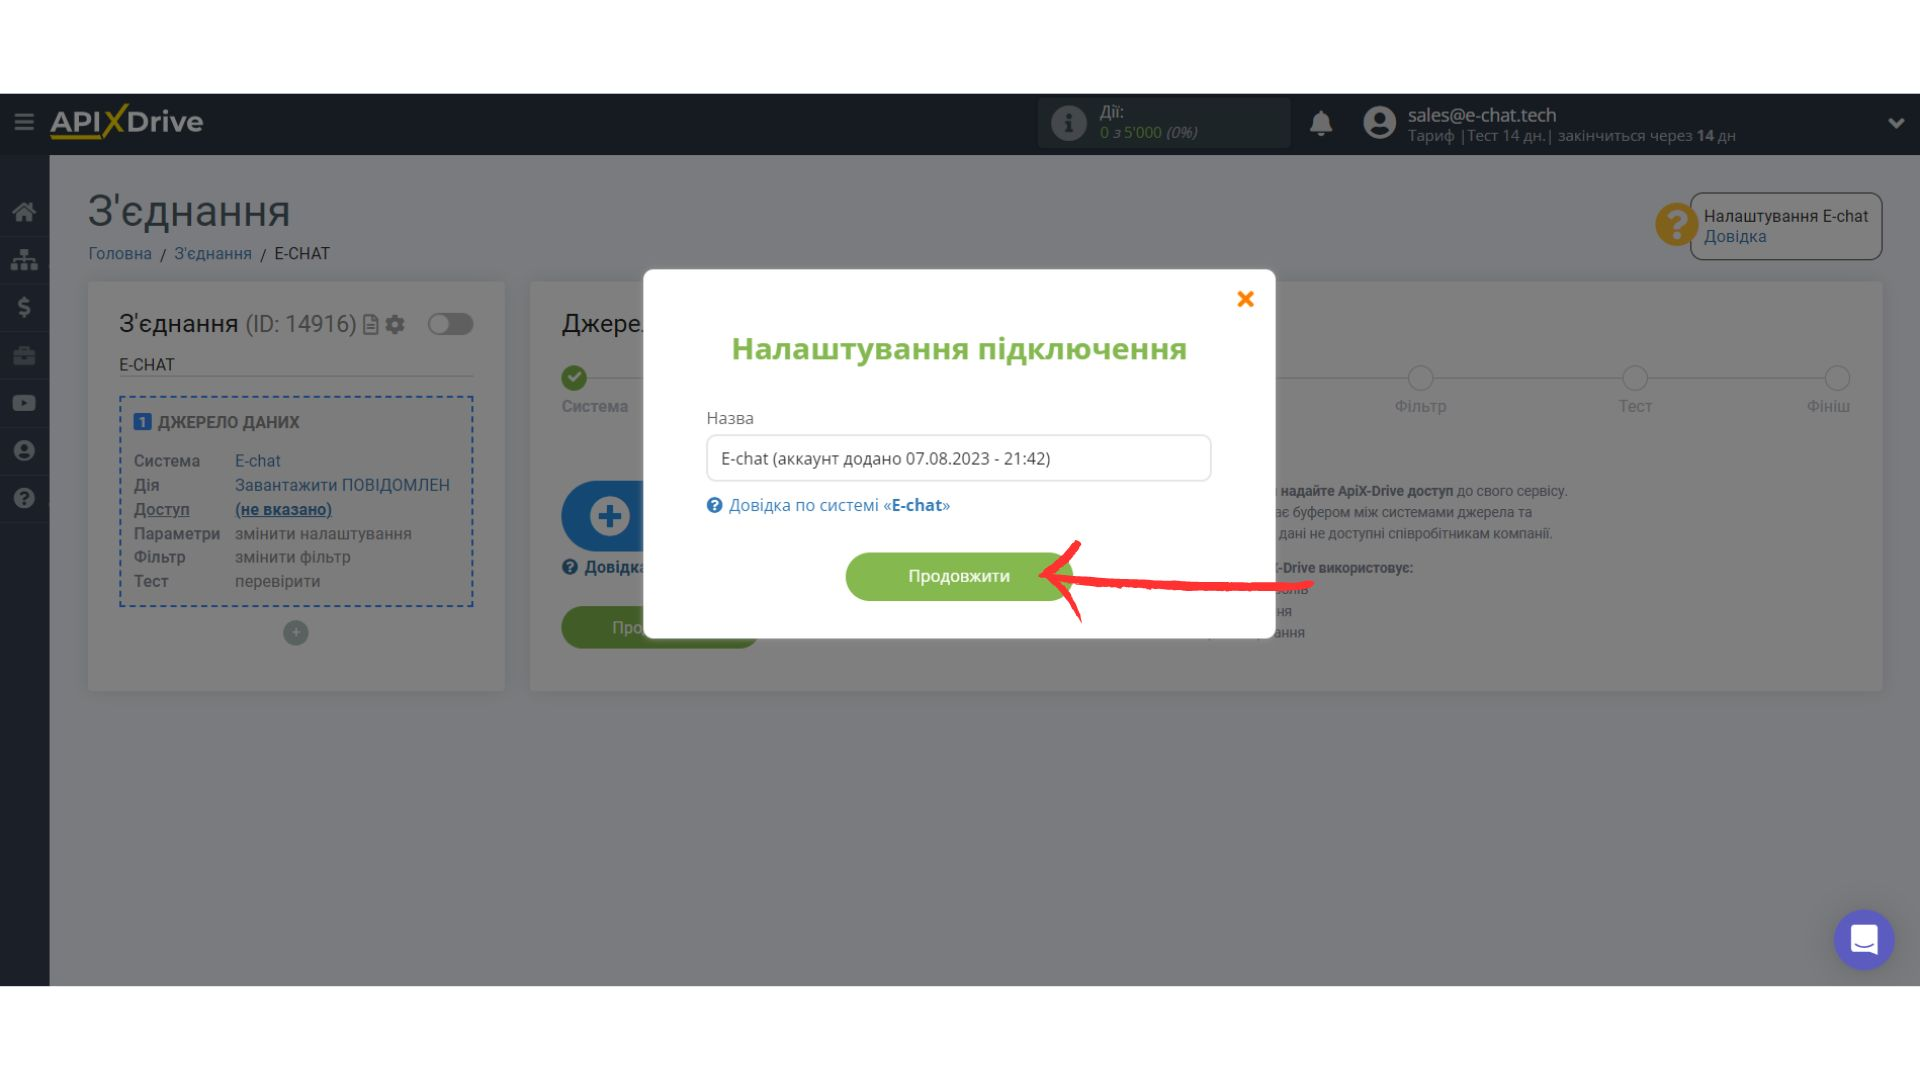
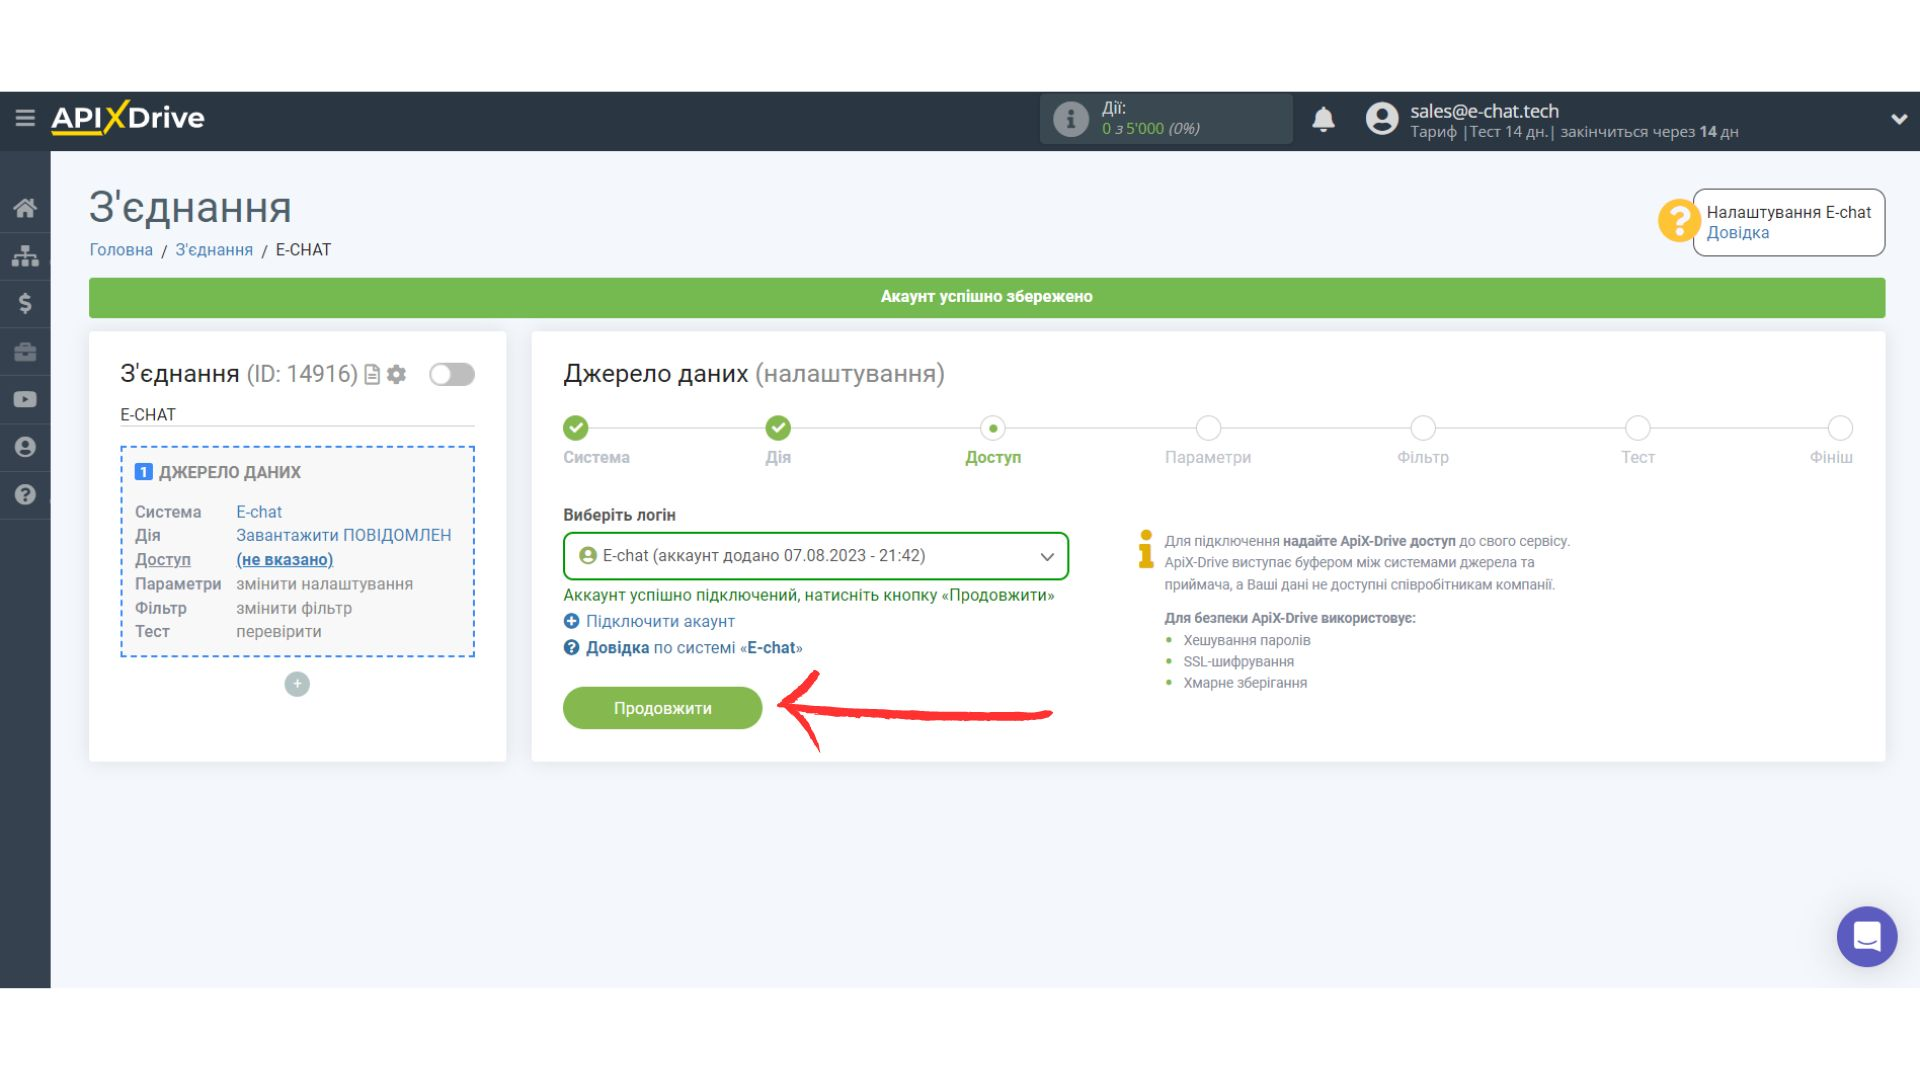
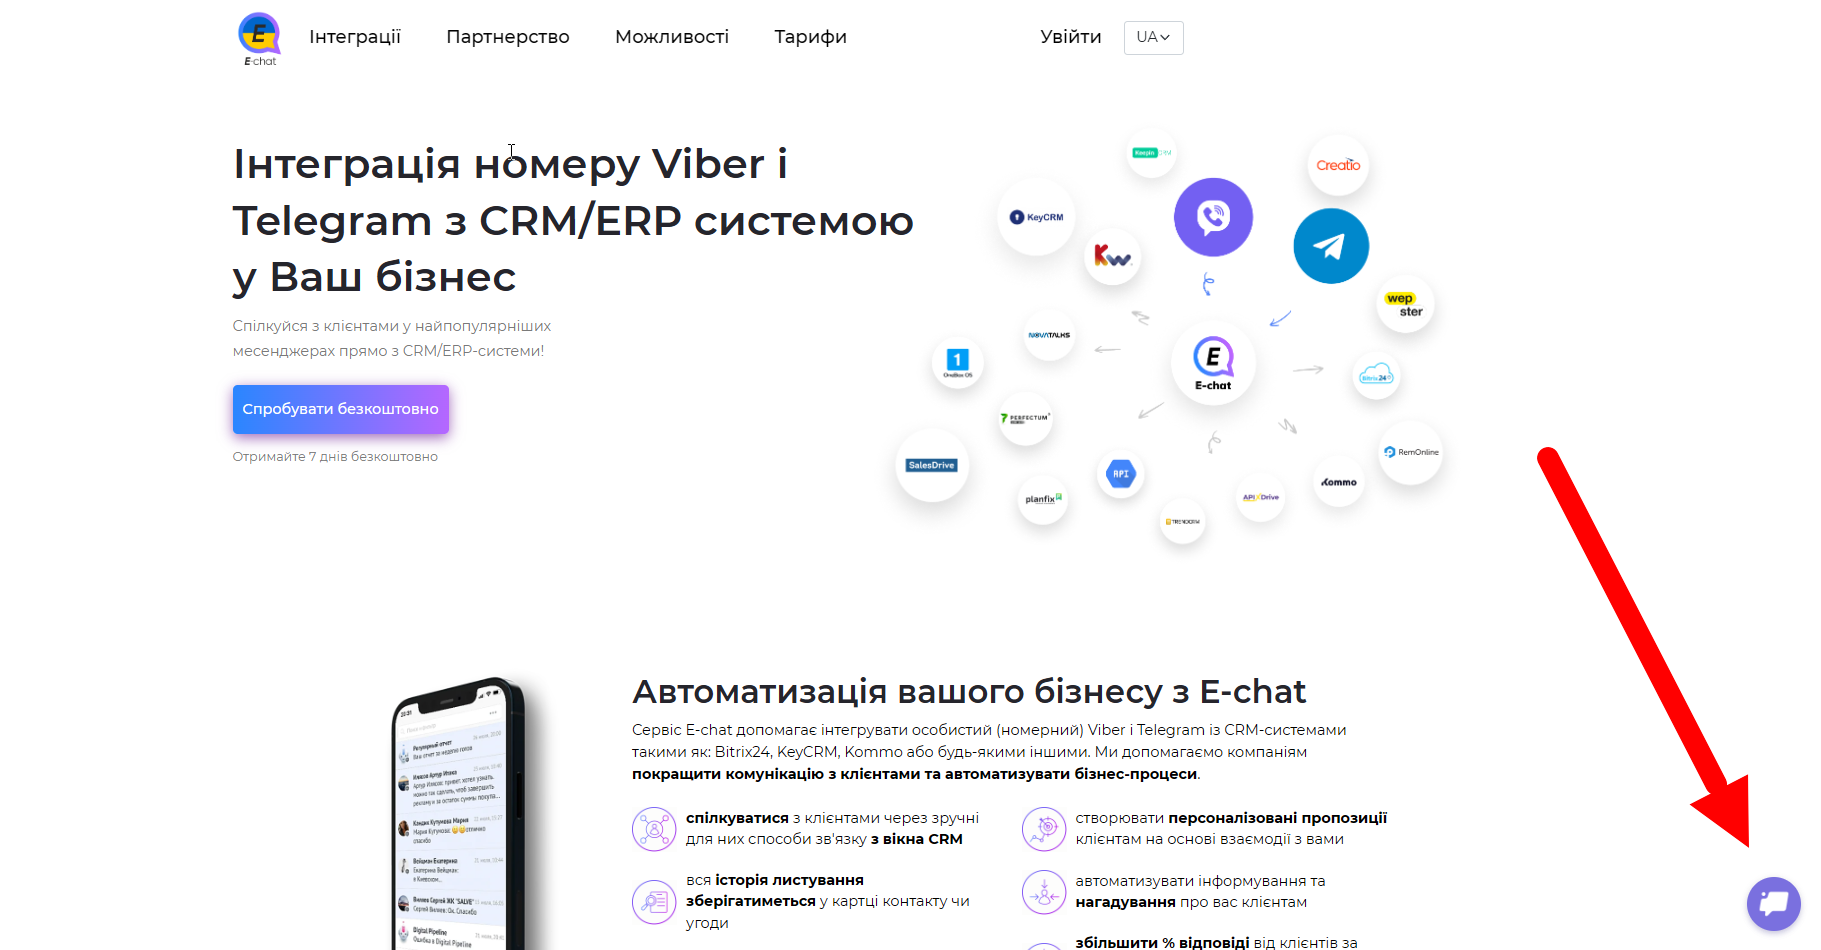
- “Connect E-chat account” and click continue.
- You can set the name yourself or keep the suggested name
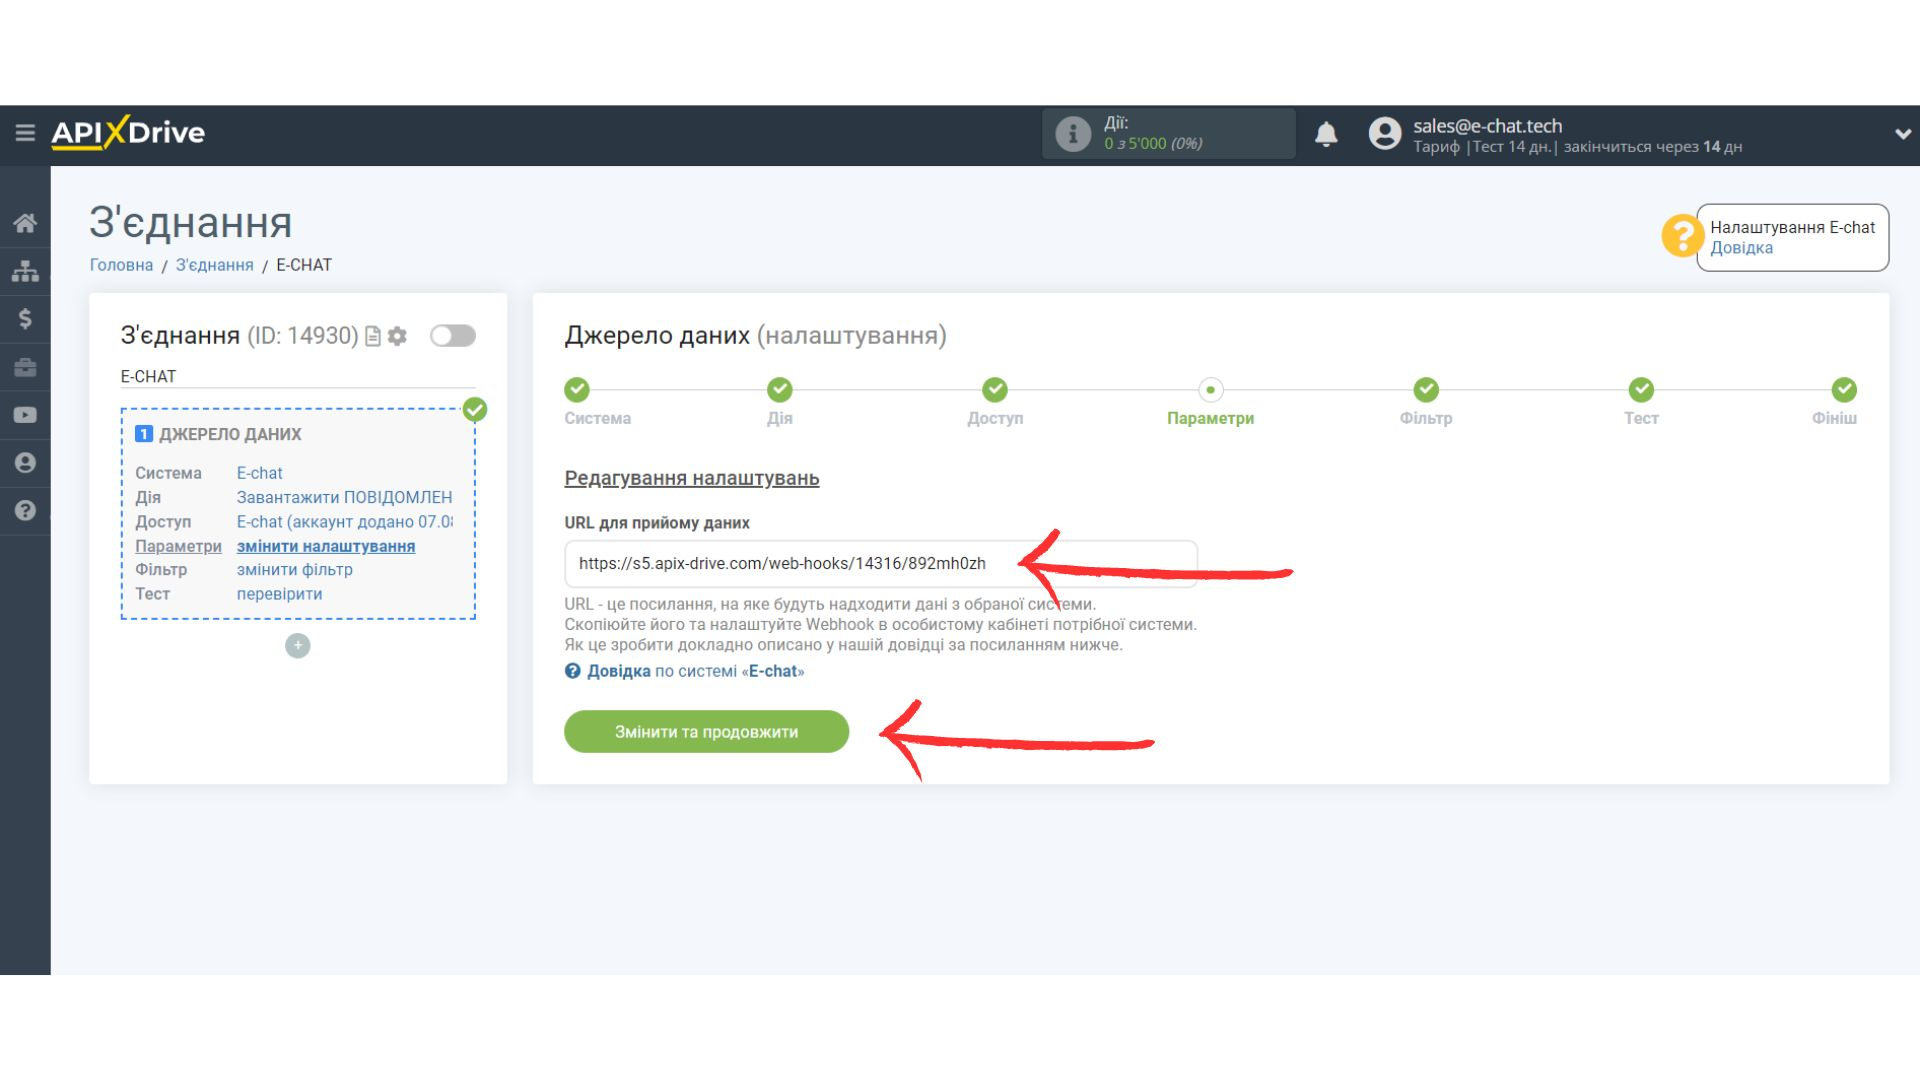
- On the “Edit Settings” page, you need to copy the “URL to receive data” and log in to your E-chat account.
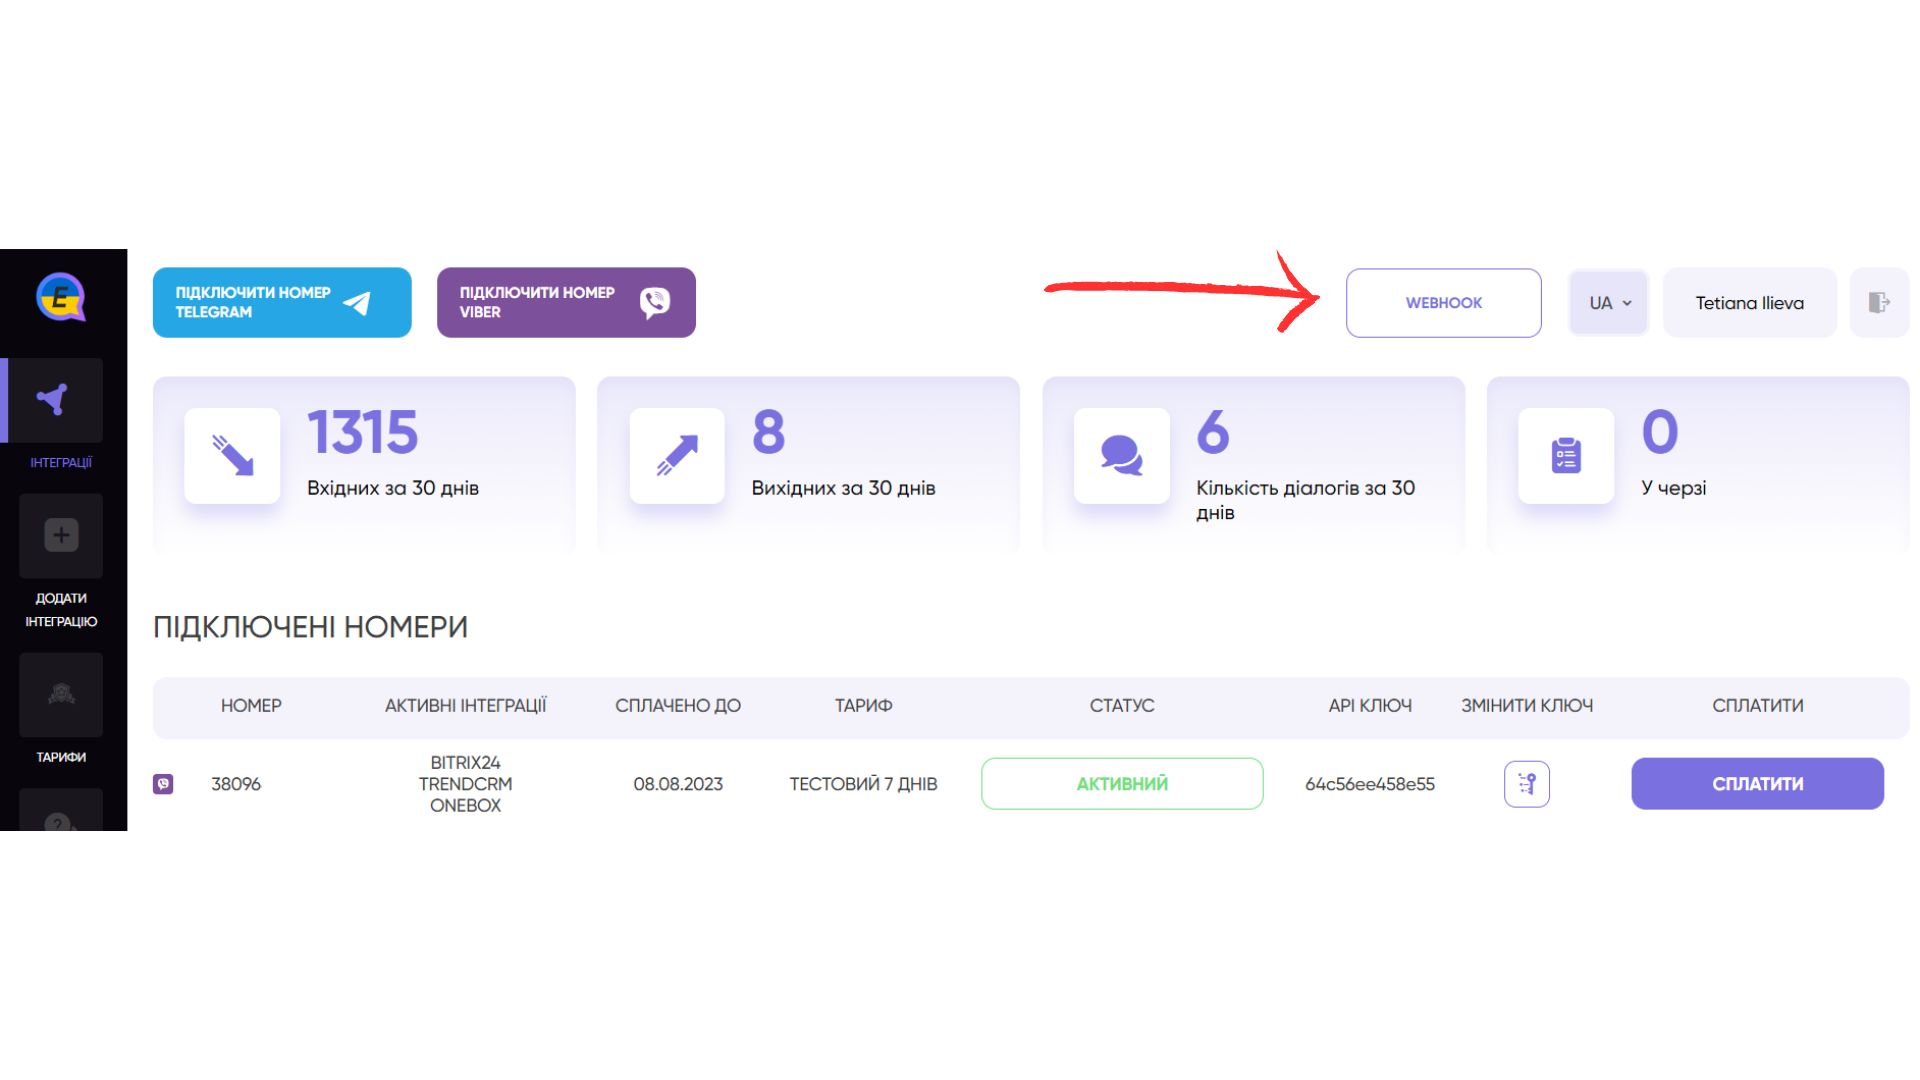
- On the main page of your personal cabinet select “Webhook” in the upper right corner and enter the copied URL in the field “Webhook address for incoming messages”, in the field “Webhook address for sent messages status” you can enter the link https://nonexistent.
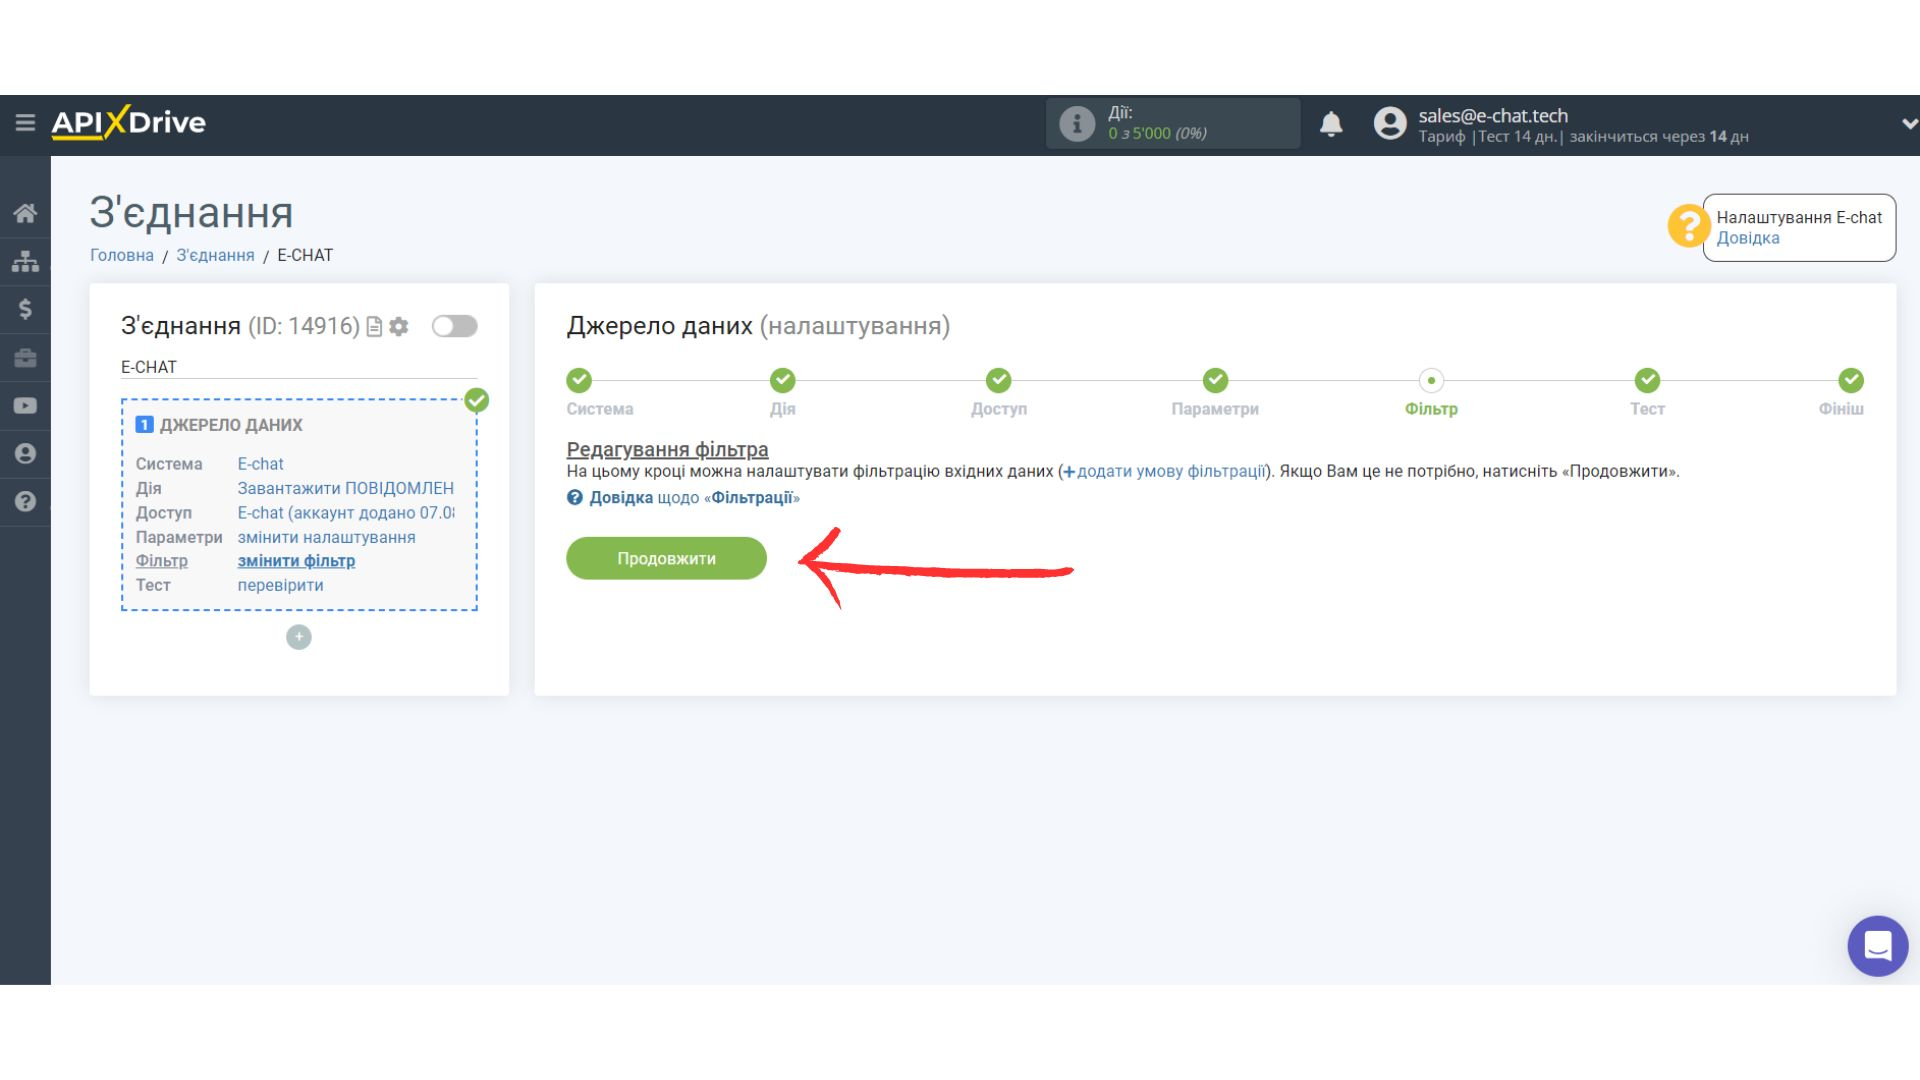
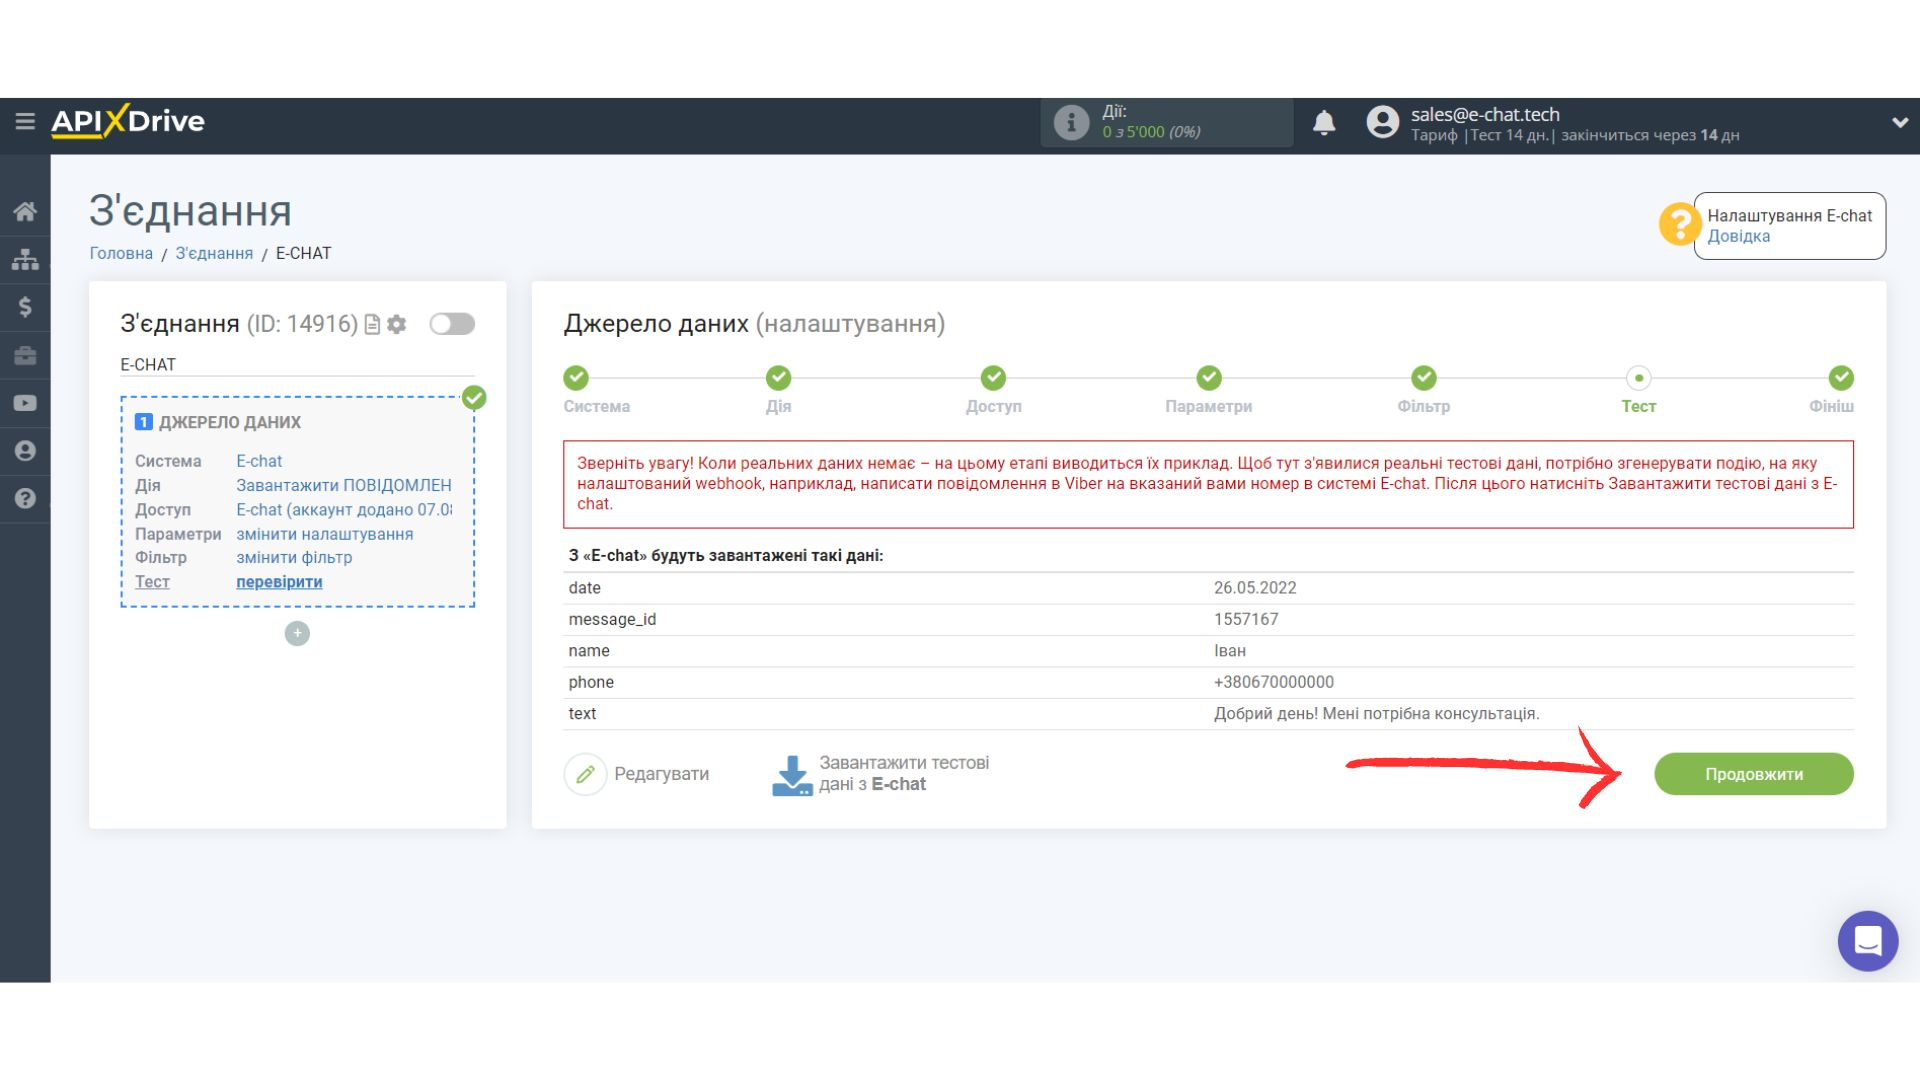
- Go back to ApixDrive and click “continue” - you will see what data will be downloaded from E-chat
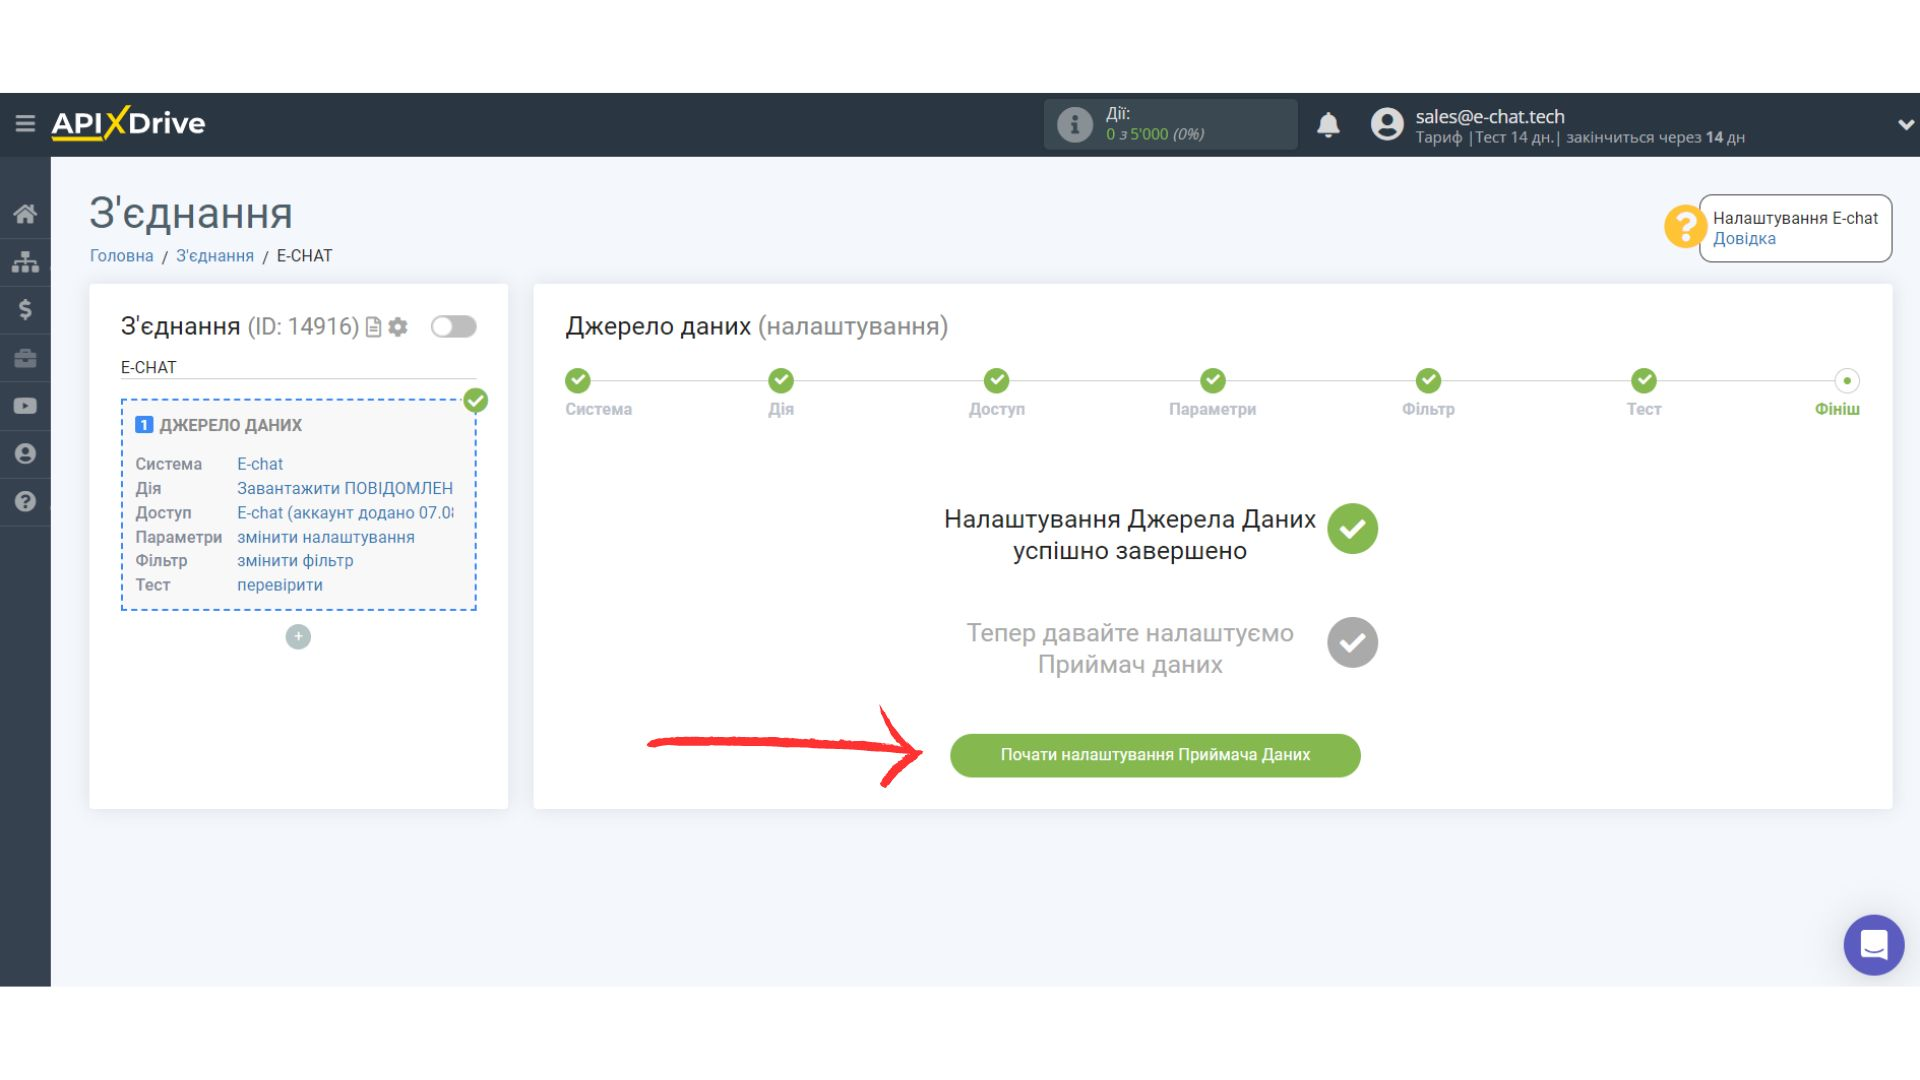
- The last step is to set up the “Data Receiver”

Setting up data reception in E-chat
Once you have set up the Data Sources, such as Google Sheets, you can begin setting up E-chat as a Data Receiver.
To do this, click on “Start setting up Data Receiving”.

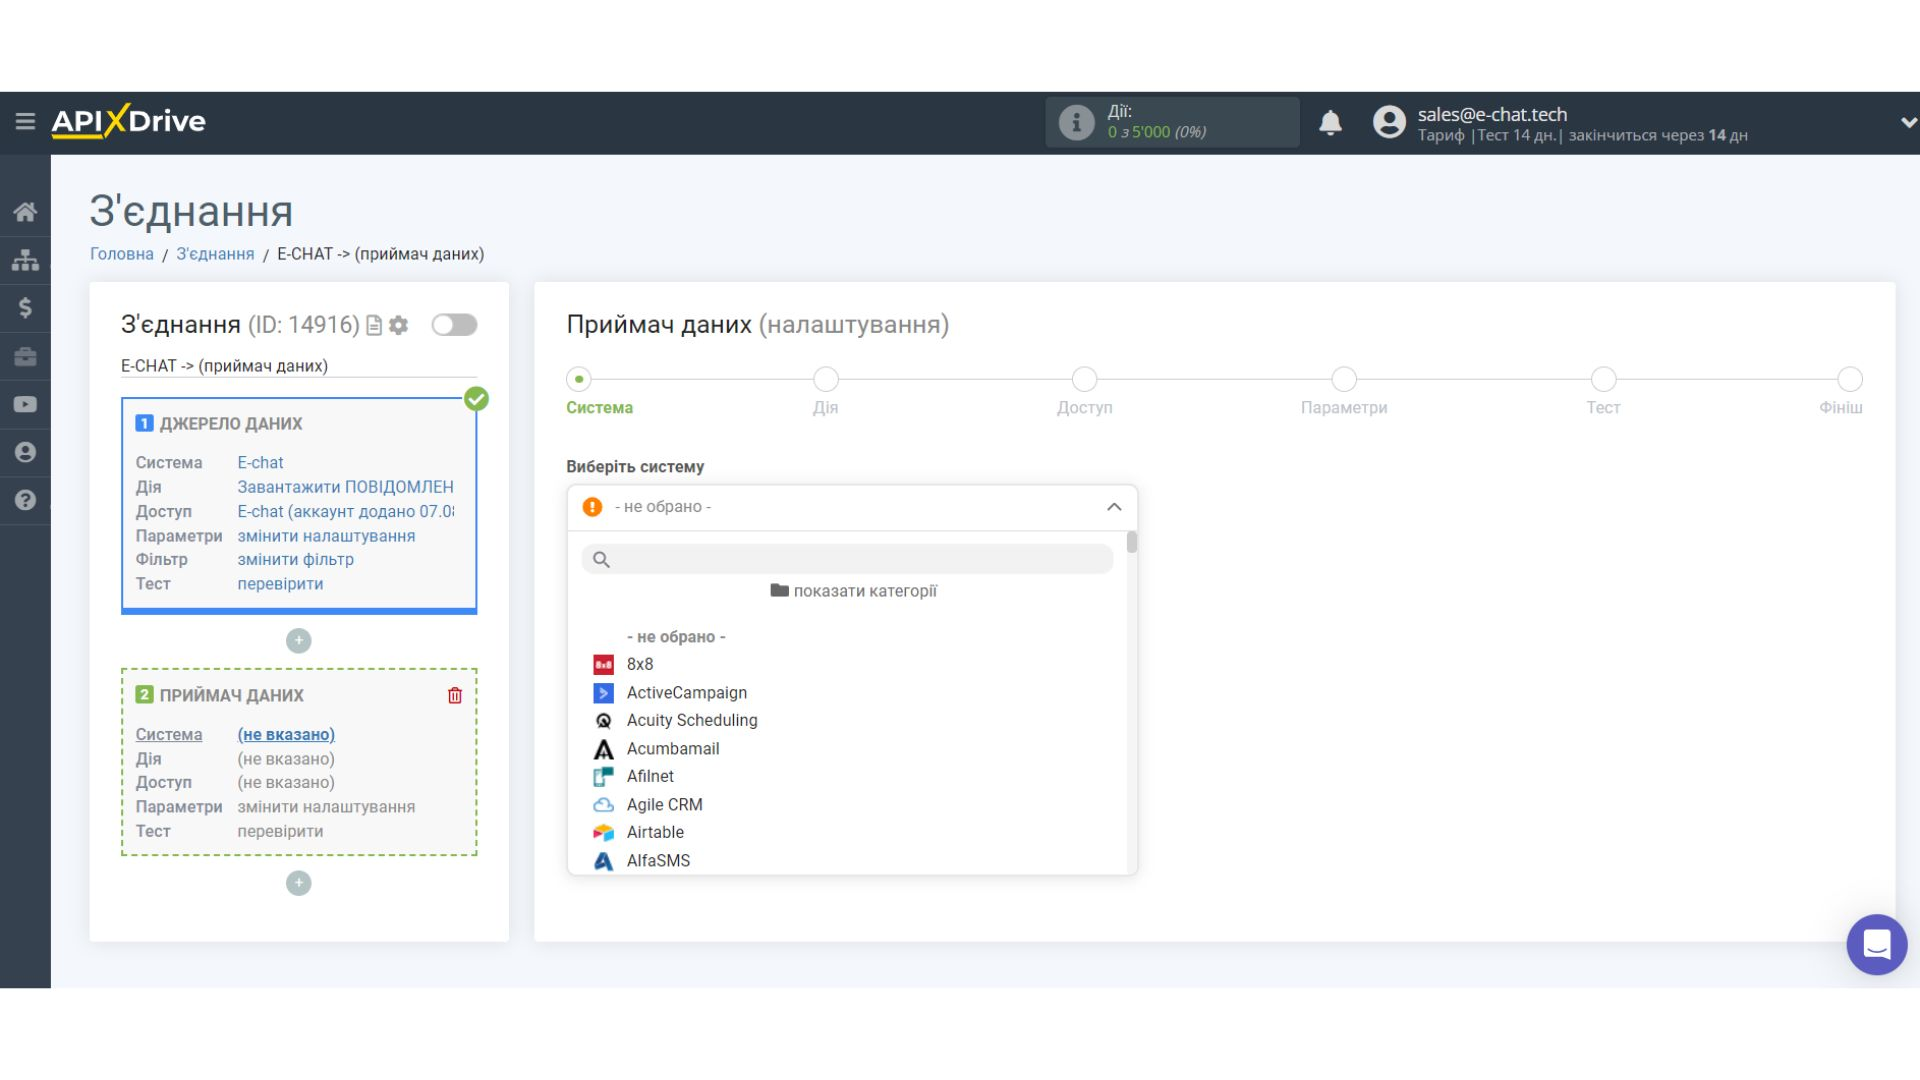
Select the system as a Data Receiver. In this case, you must specify E-chat.

Next, you need to specify the “Send Message” action.

The next step is to select the E-chat account to which the data will be uploaded.
If there are no logins connected to the system, click “Connect Account”.

In the window that opens, enter the Phone Number and Token.

To find your phone number and token, go to your personal E-chat account and copy the highlighted fields.
Please note! The number must be activated and have the status “waiting for chat channel creation”.

Also, you can connect this service to a CRM system, such as Zoho. To do this, go to the app marketplace.Then enter E-chat in the search field and click “Browse”.

Then click the “Install” button.

Click “Install” again.

Now enter the Phone Number and Token in the appropriate fields.

When a connected account appears in the “active accounts” list, select it for further work.
If your account is in the “inactive accounts” list, check your access to this user!

Now you need to specify the field from which the recipient's phone number will be taken.
In the “Message” field you can use both system variables such as time, date, year, month, day, and variables from the data source system, in this case Google Sheets.
You can combine these variables in any way you like. For example, manually type in text and add an order number from a Google Sheets column.


Now you can see how the future message will look like according to the selected data.
Click “Send test data to E-chat”, and a Viber message will be sent to the phone number specified in the test data.
If you are not satisfied with something - click “Edit” and go back one step.
If you are satisfied with everything - click “Next” to continue the settings.

This completes the Data Receiving setup!
Now you can proceed to selecting the update interval and enabling automatic update.
To do this, click “Enable Auto Update”.

From the Home screen, click the gear icon to select the desired update interval or to set up a Schedule Run. To trigger communication by time, select Schedule trigger and specify the desired communication update trigger time or add multiple time options for when you want the communication to trigger.
Warning.For the Schedule Run to trigger at the specified time, the interval between the current time and the specified time must be more than 5 minutes.
For example, you select the time 12:10 and the current time is 12:08 - in this case the auto-refresh of the connection will occur at 12:10 the next day. If you select the time 12:20 and the current time is 12:13 - the auto-refresh will be triggered at 12:20 today and daily thereafter.
To have the current link triggered after another link, check the “Update only after link” checkbox and specify the link after which the current link will be triggered.


To enable automatic update, move the slider to the position as shown in the image.
To force communication, click the arrow icon to force communication.

This completes the configuration of E-chat as a Data Receiver!