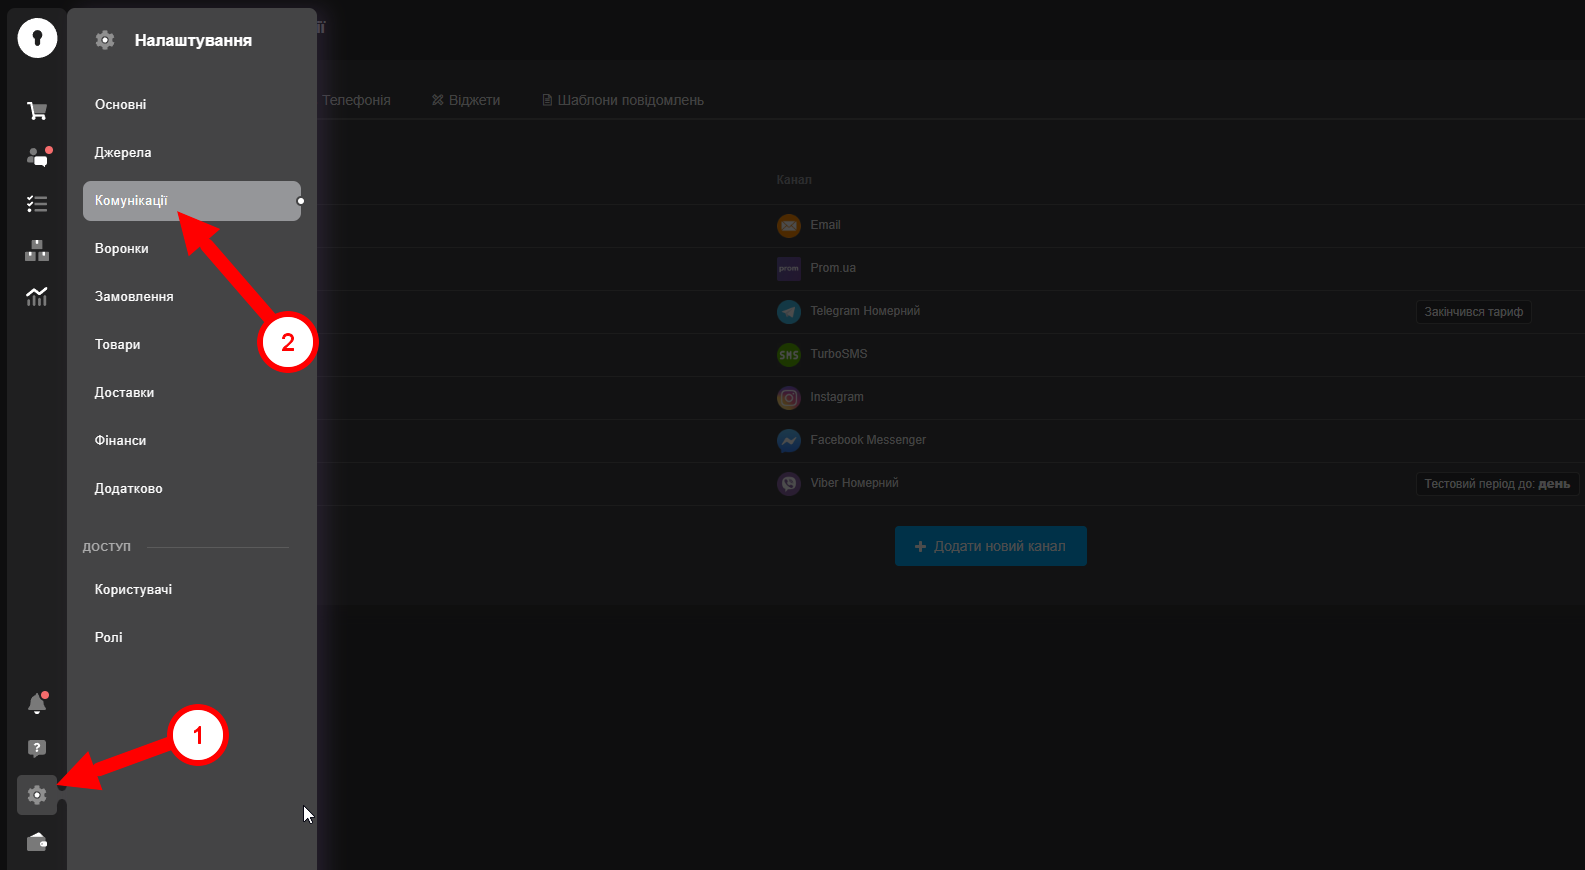
1) You need to log in to your KeyCRM portal.
2) Go to Settings > Communications.
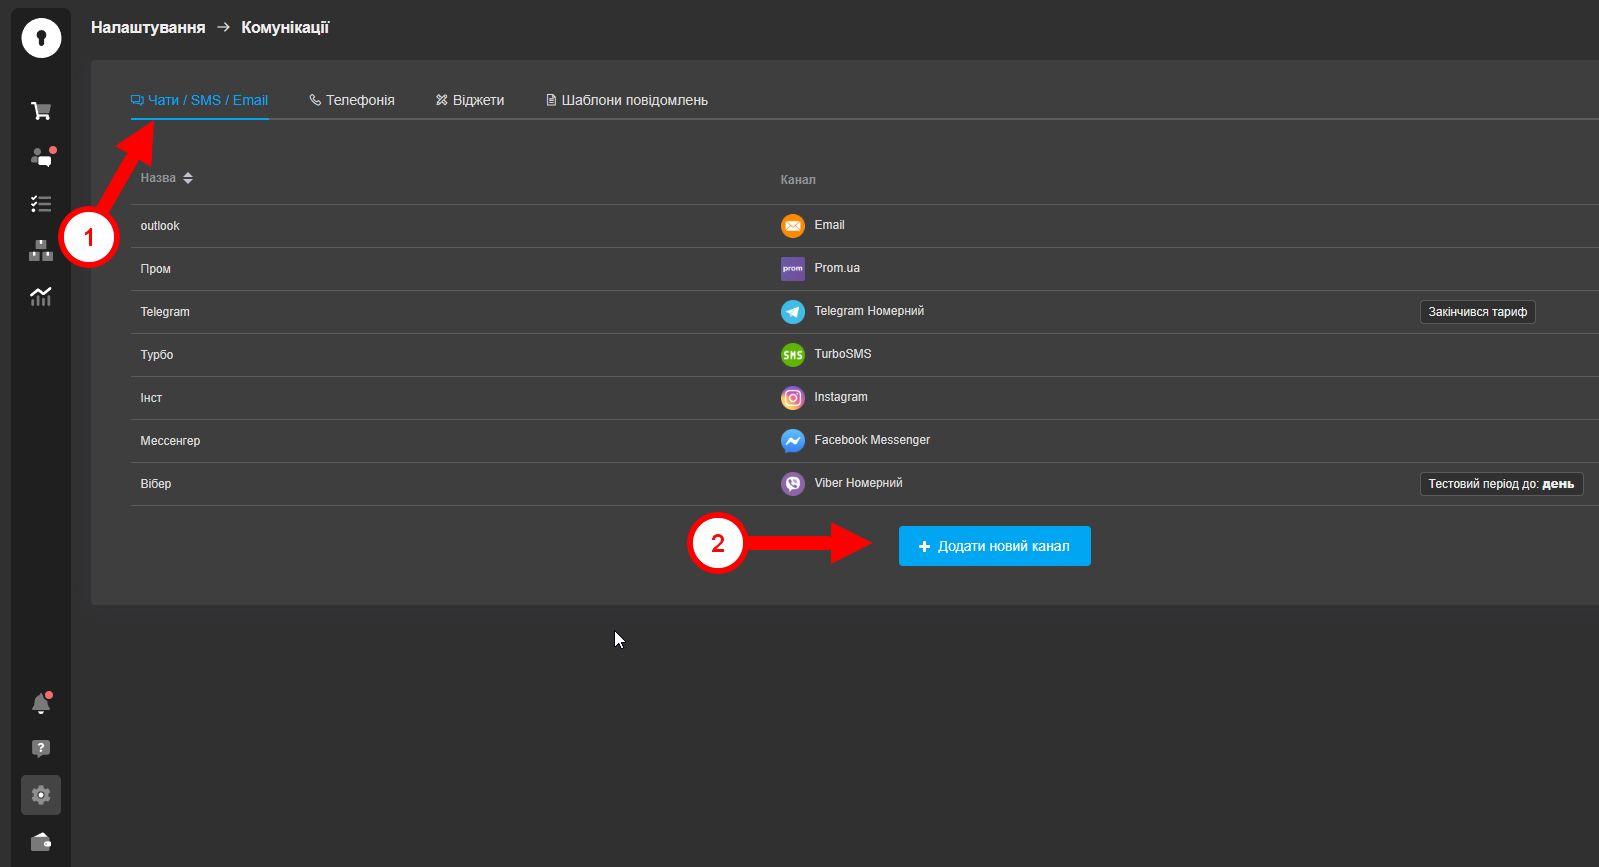
3) In this section you need to open the tab: “Chats/SMS/Email” and click the button “Add a new channel”.
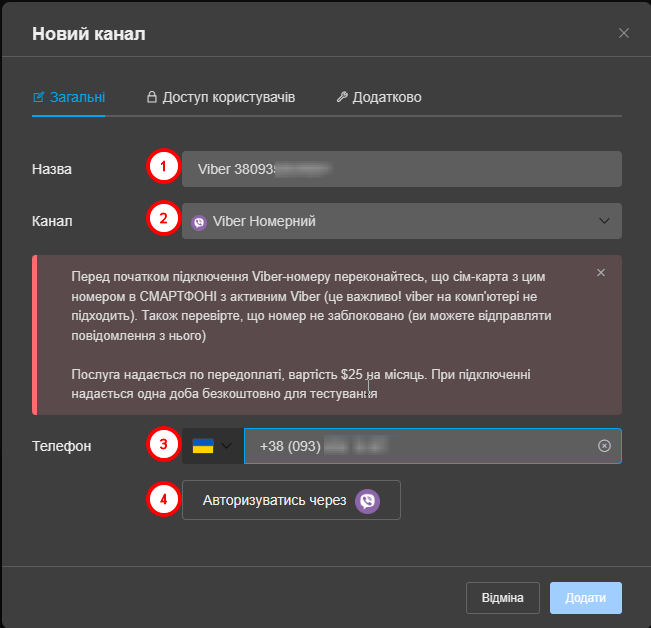
4) In the opened window on the “General” tab fill in the fields:
- - Name - specify an arbitrary name of the channel;
- - Channel type - select “Viber Number”;
- - Phone - enter the phone number you added in your personal account on the E-chat website.
5) Click on the “Authorize via Viber” button
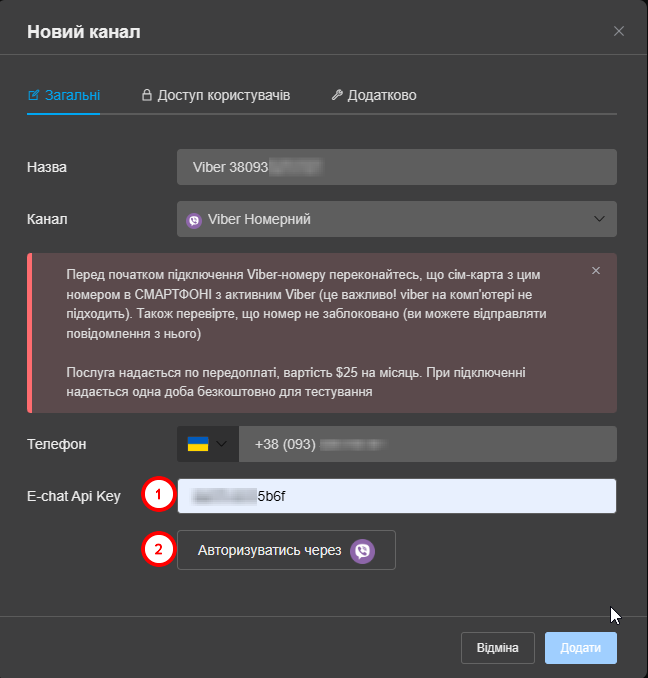
In case your number was previously used in our service - you will see an additional field where you need to enter the API-key of your number. Enter it and click the authorization button again
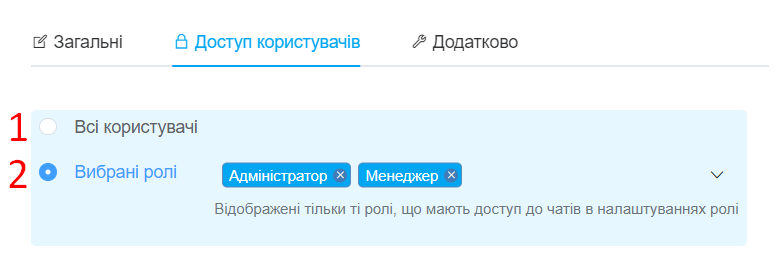
To grant access to individual users, go to the “User Access” tab.
In it, you can select:
1) All Users - access to the channel will be granted to all users;
2) Selected roles - access to the channel will be granted only to users who are in the assigned role:
If you need to grant access to the channel to only one user, go to Settings → Roles, create a separate role and specify it for the required user.
After these steps, go to the channel settings and select this role in the “User Access” tab.
- Only roles that have “Access to chats” permissions granted in the role settings will have access to chats.
- If you select “All Users”, only users whose roles have this permission will have access.
- If you select “Favorite Roles”, you can specify specific roles that will have access to chats on this channel, provided they have “Access to Chats” rights.
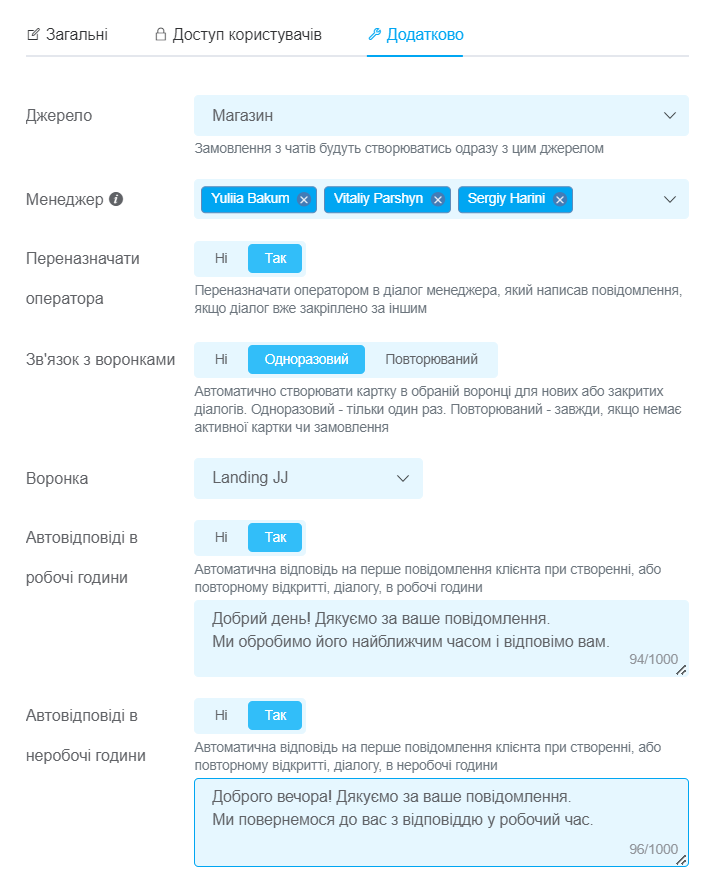
Settings are available on the "Advanced" tab:
- Source - specify the default source to be used for orders and cards in the funnel created in chats from this channel;
- Manager - specify the manager to whom new chats from this channel will be immediately assigned. If you add several managers - chats will be assigned to each manager in turn. You can leave it empty, chats will be created without assignment;
- Reassign operator - activate the switch if you want that when another manager replies to a chat, it will be automatically assigned to him;
- Link to funnels - activate and select the value:
- None - cards will NOT be created from chats automatically;
- One-time - cards will be created only once, provided there is no card from this chat yet;
- Recurring - cards will be created always when opening a new ticket in the chat, if there is no card or order in the working statuses (all statuses except successful and rejected); - Funnel - select funnel if you want to automatically create cards from new dialogs. This item is available if you have the “Funnels” section enabled;
- Auto-replies during business hours - activate and enter the text that will be sent automatically to the first message during business hours (when a dialog is created or reopened by a client message);
- Auto-replies during non-business hours - activate and enter the text that will be sent automatically to the first message during non-business hours (when a dialog is created or reopened by a client message).
When you have specified all the necessary parameters, click the “Add” button. The channel will appear in the list and all messages that will be received after connection will start to be displayed in the chats.
After you have authorized the number and filled in all the fields, be sure to click on the “Add” button. Otherwise, it will simply not be saved.